Our Wedding Story and How We Planned on a Budget
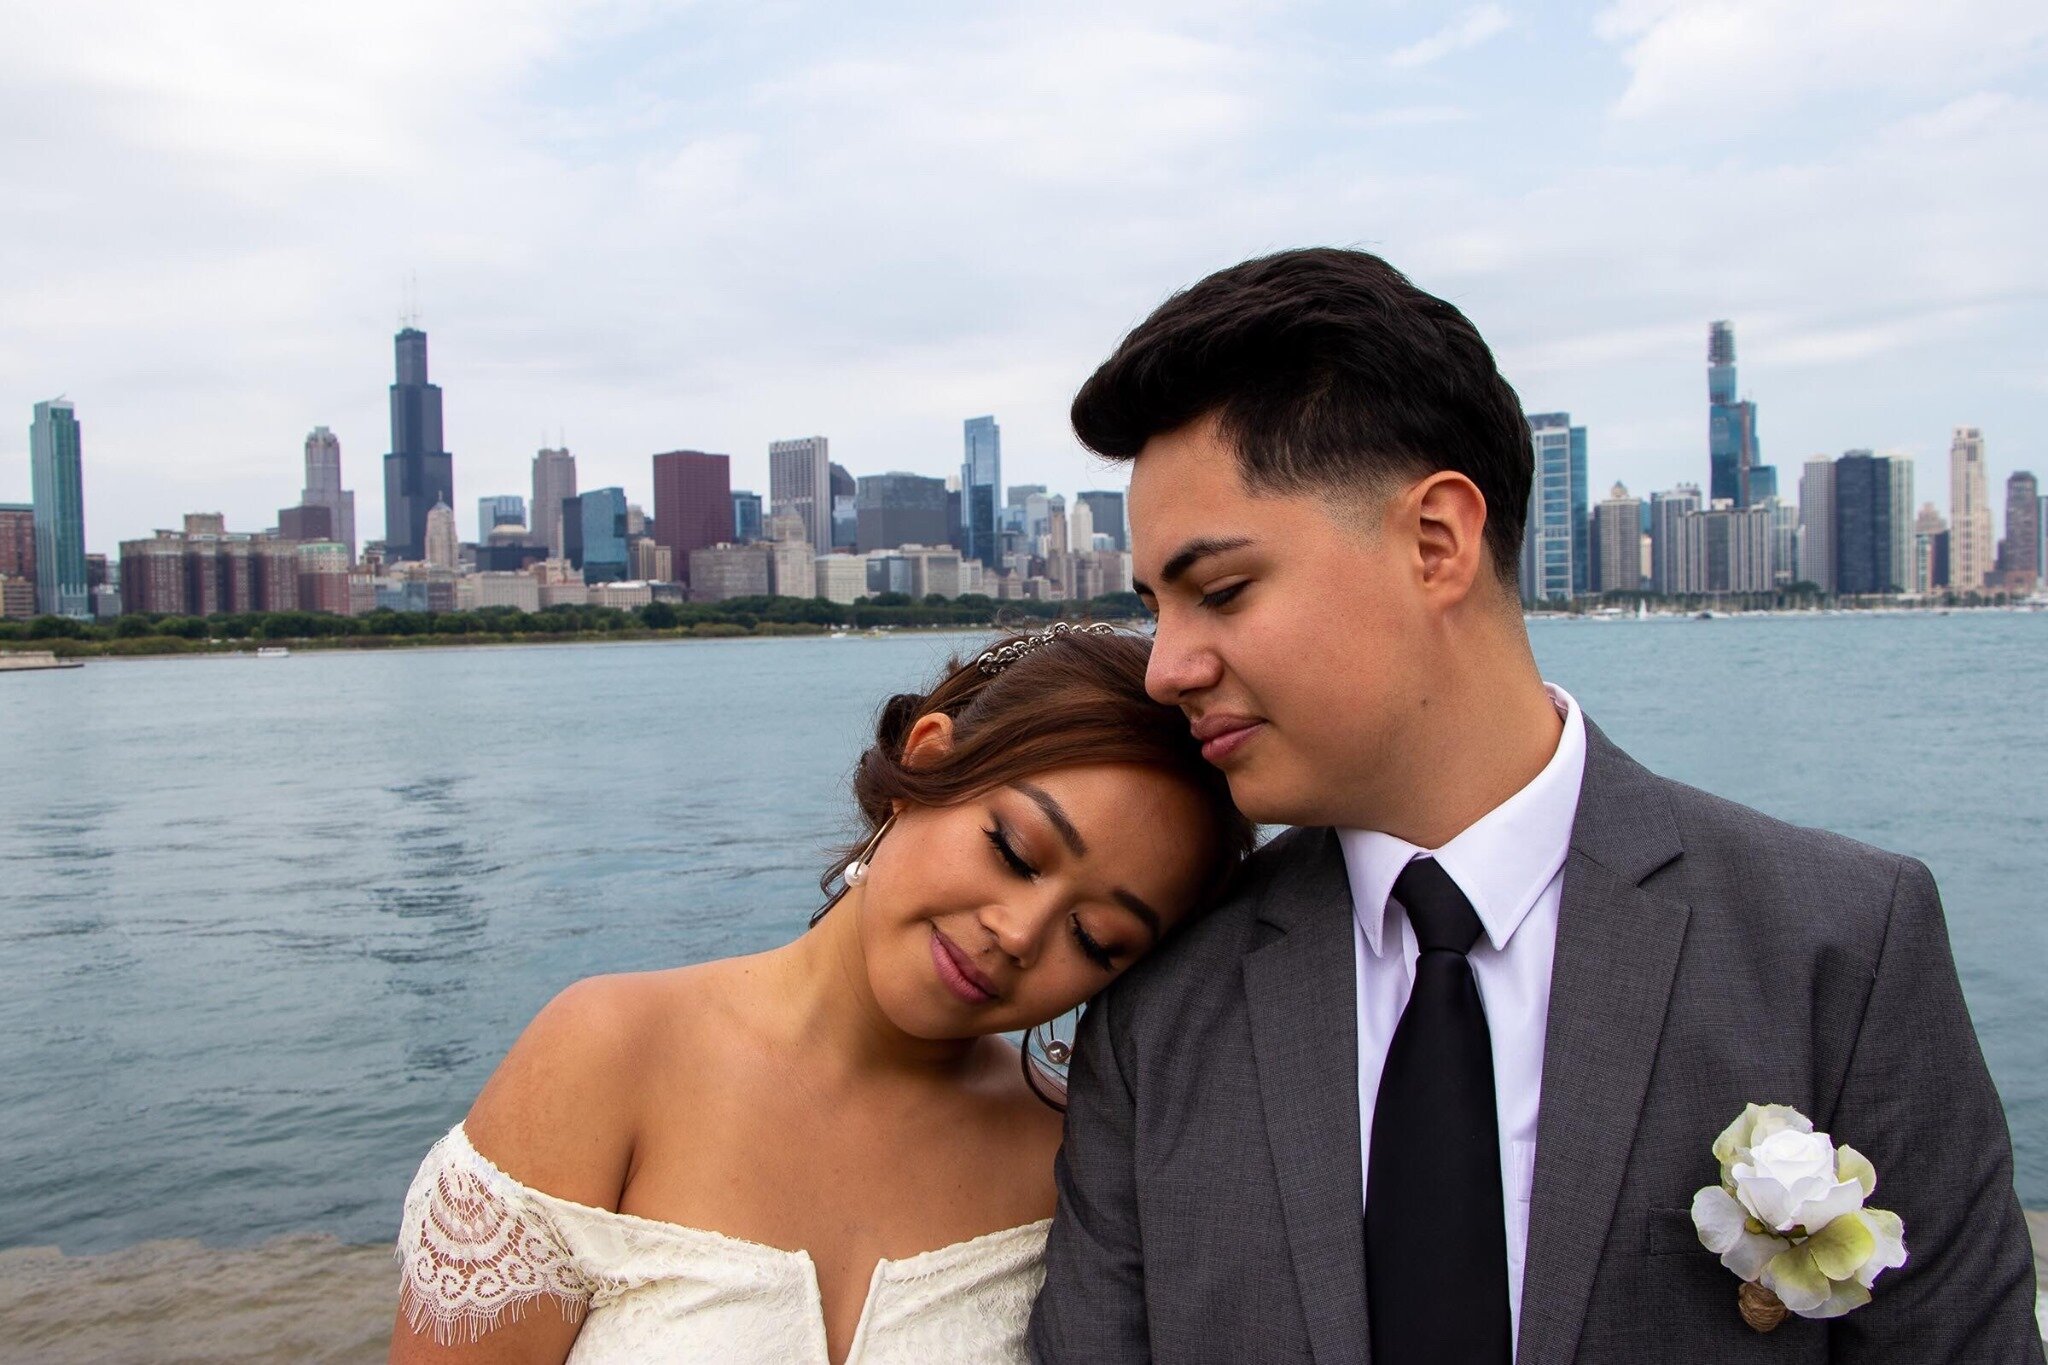
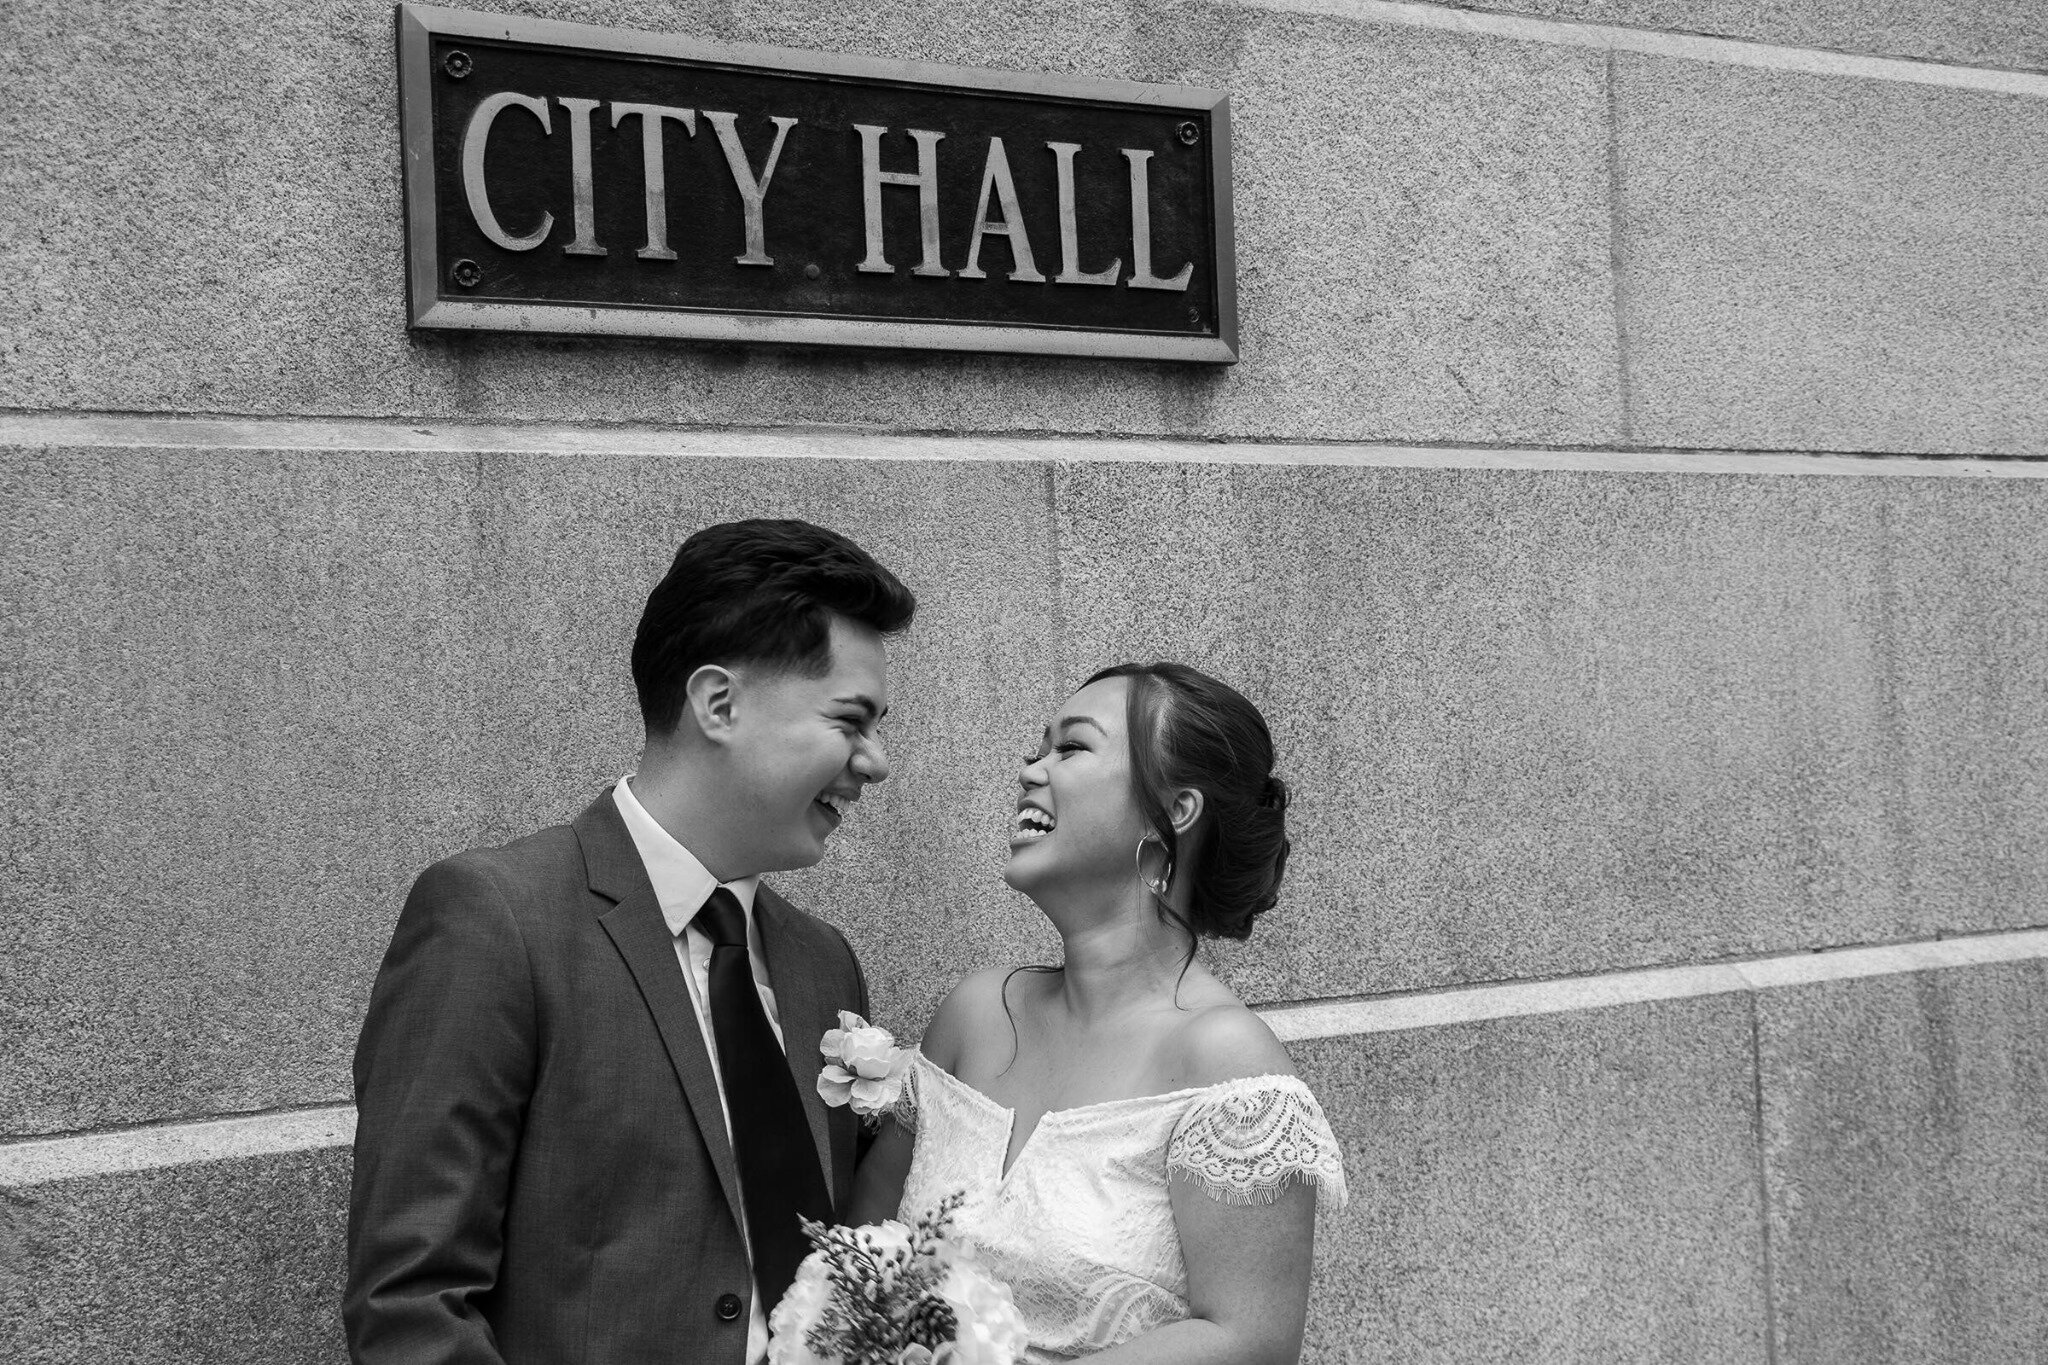
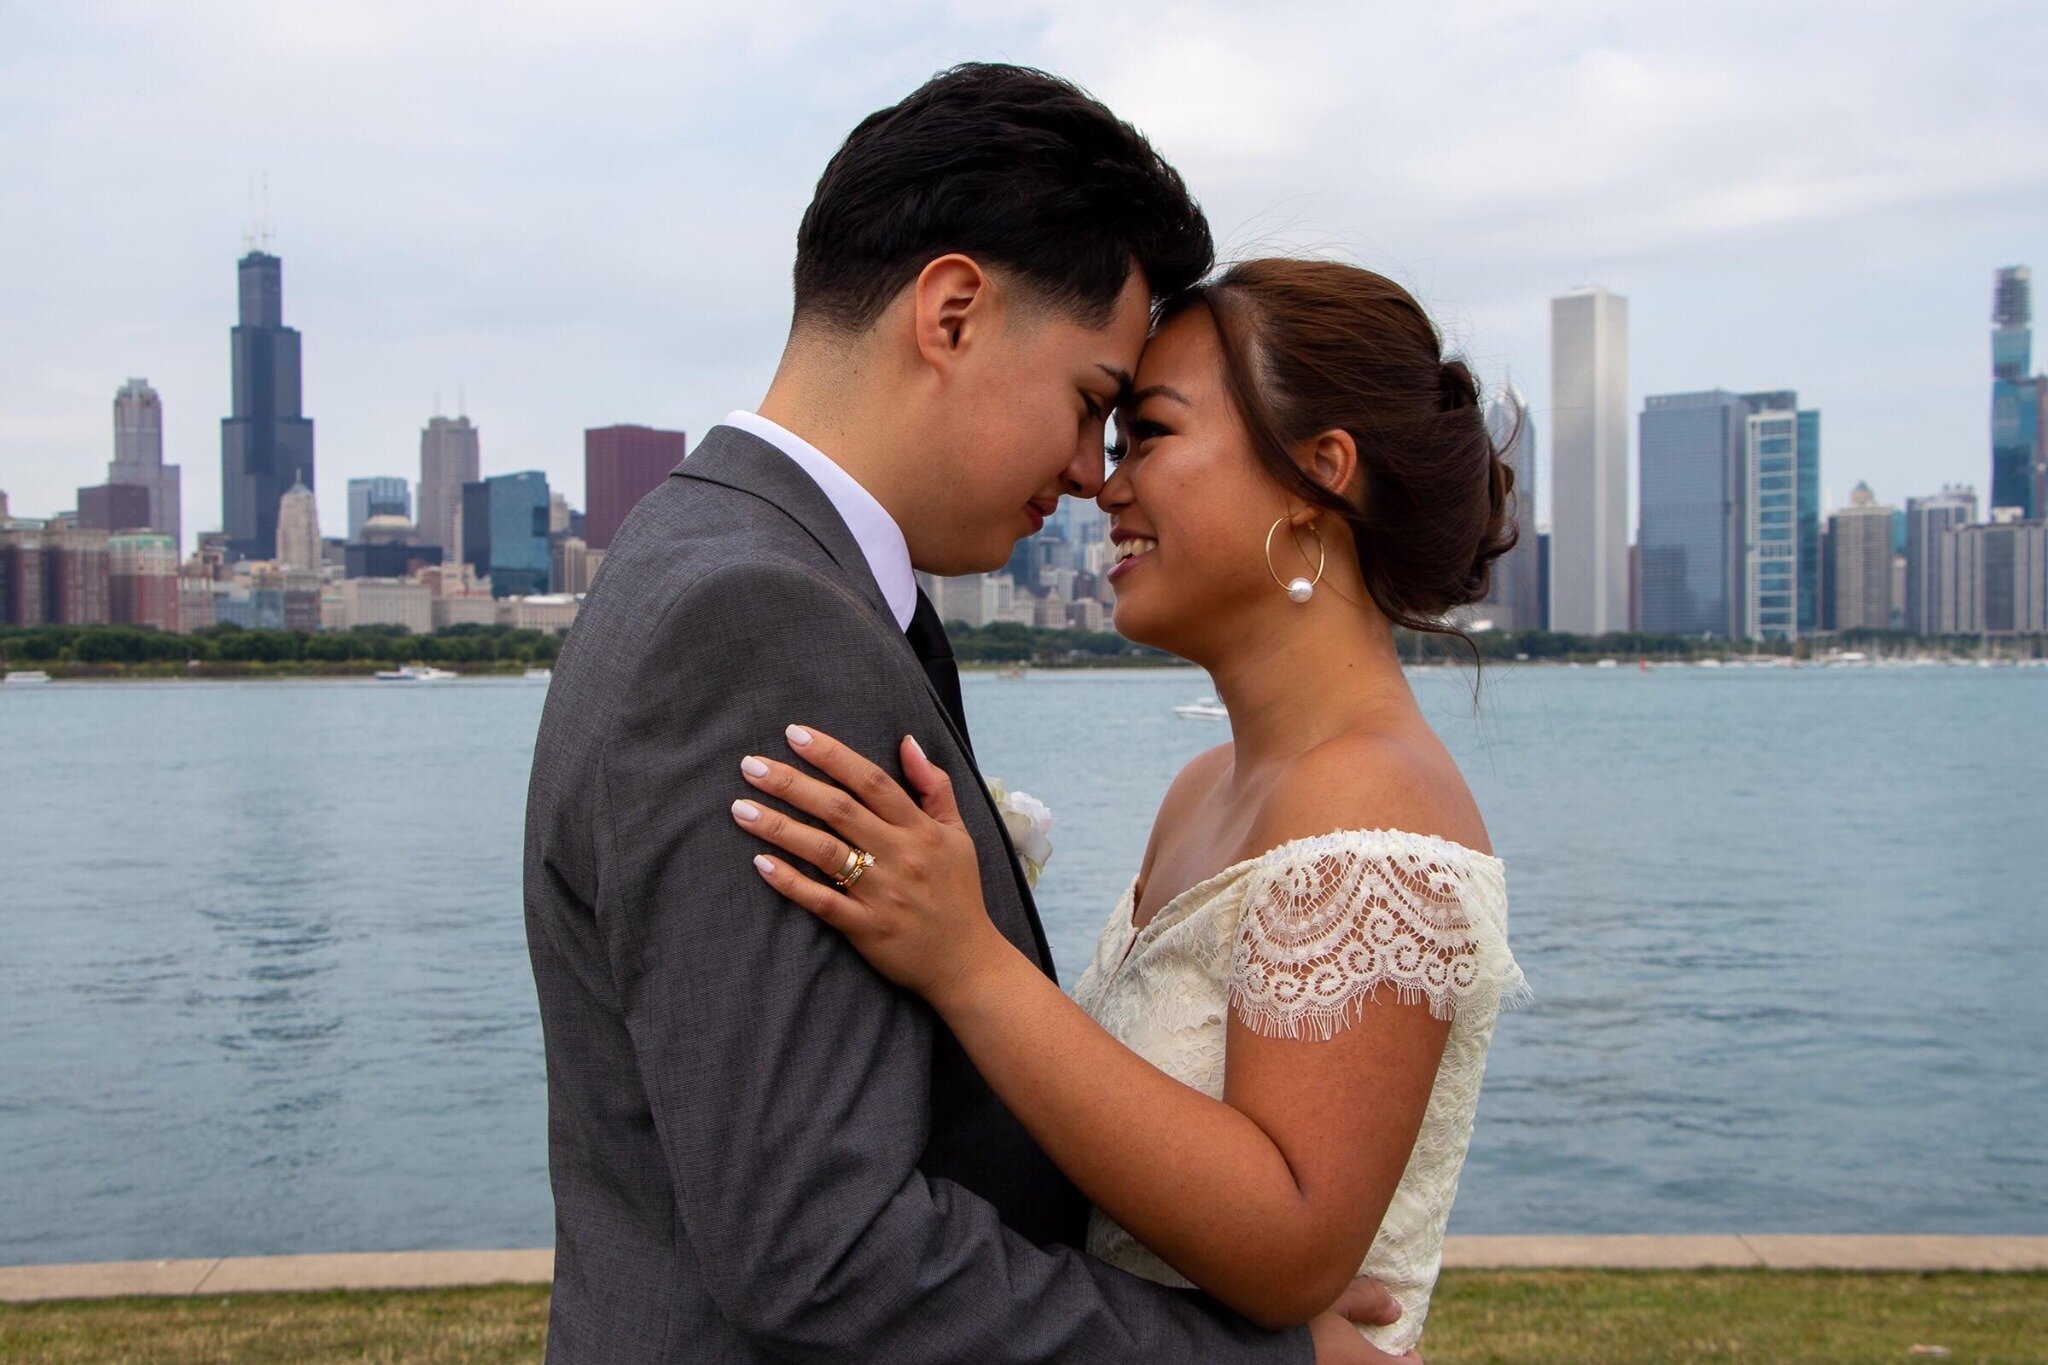
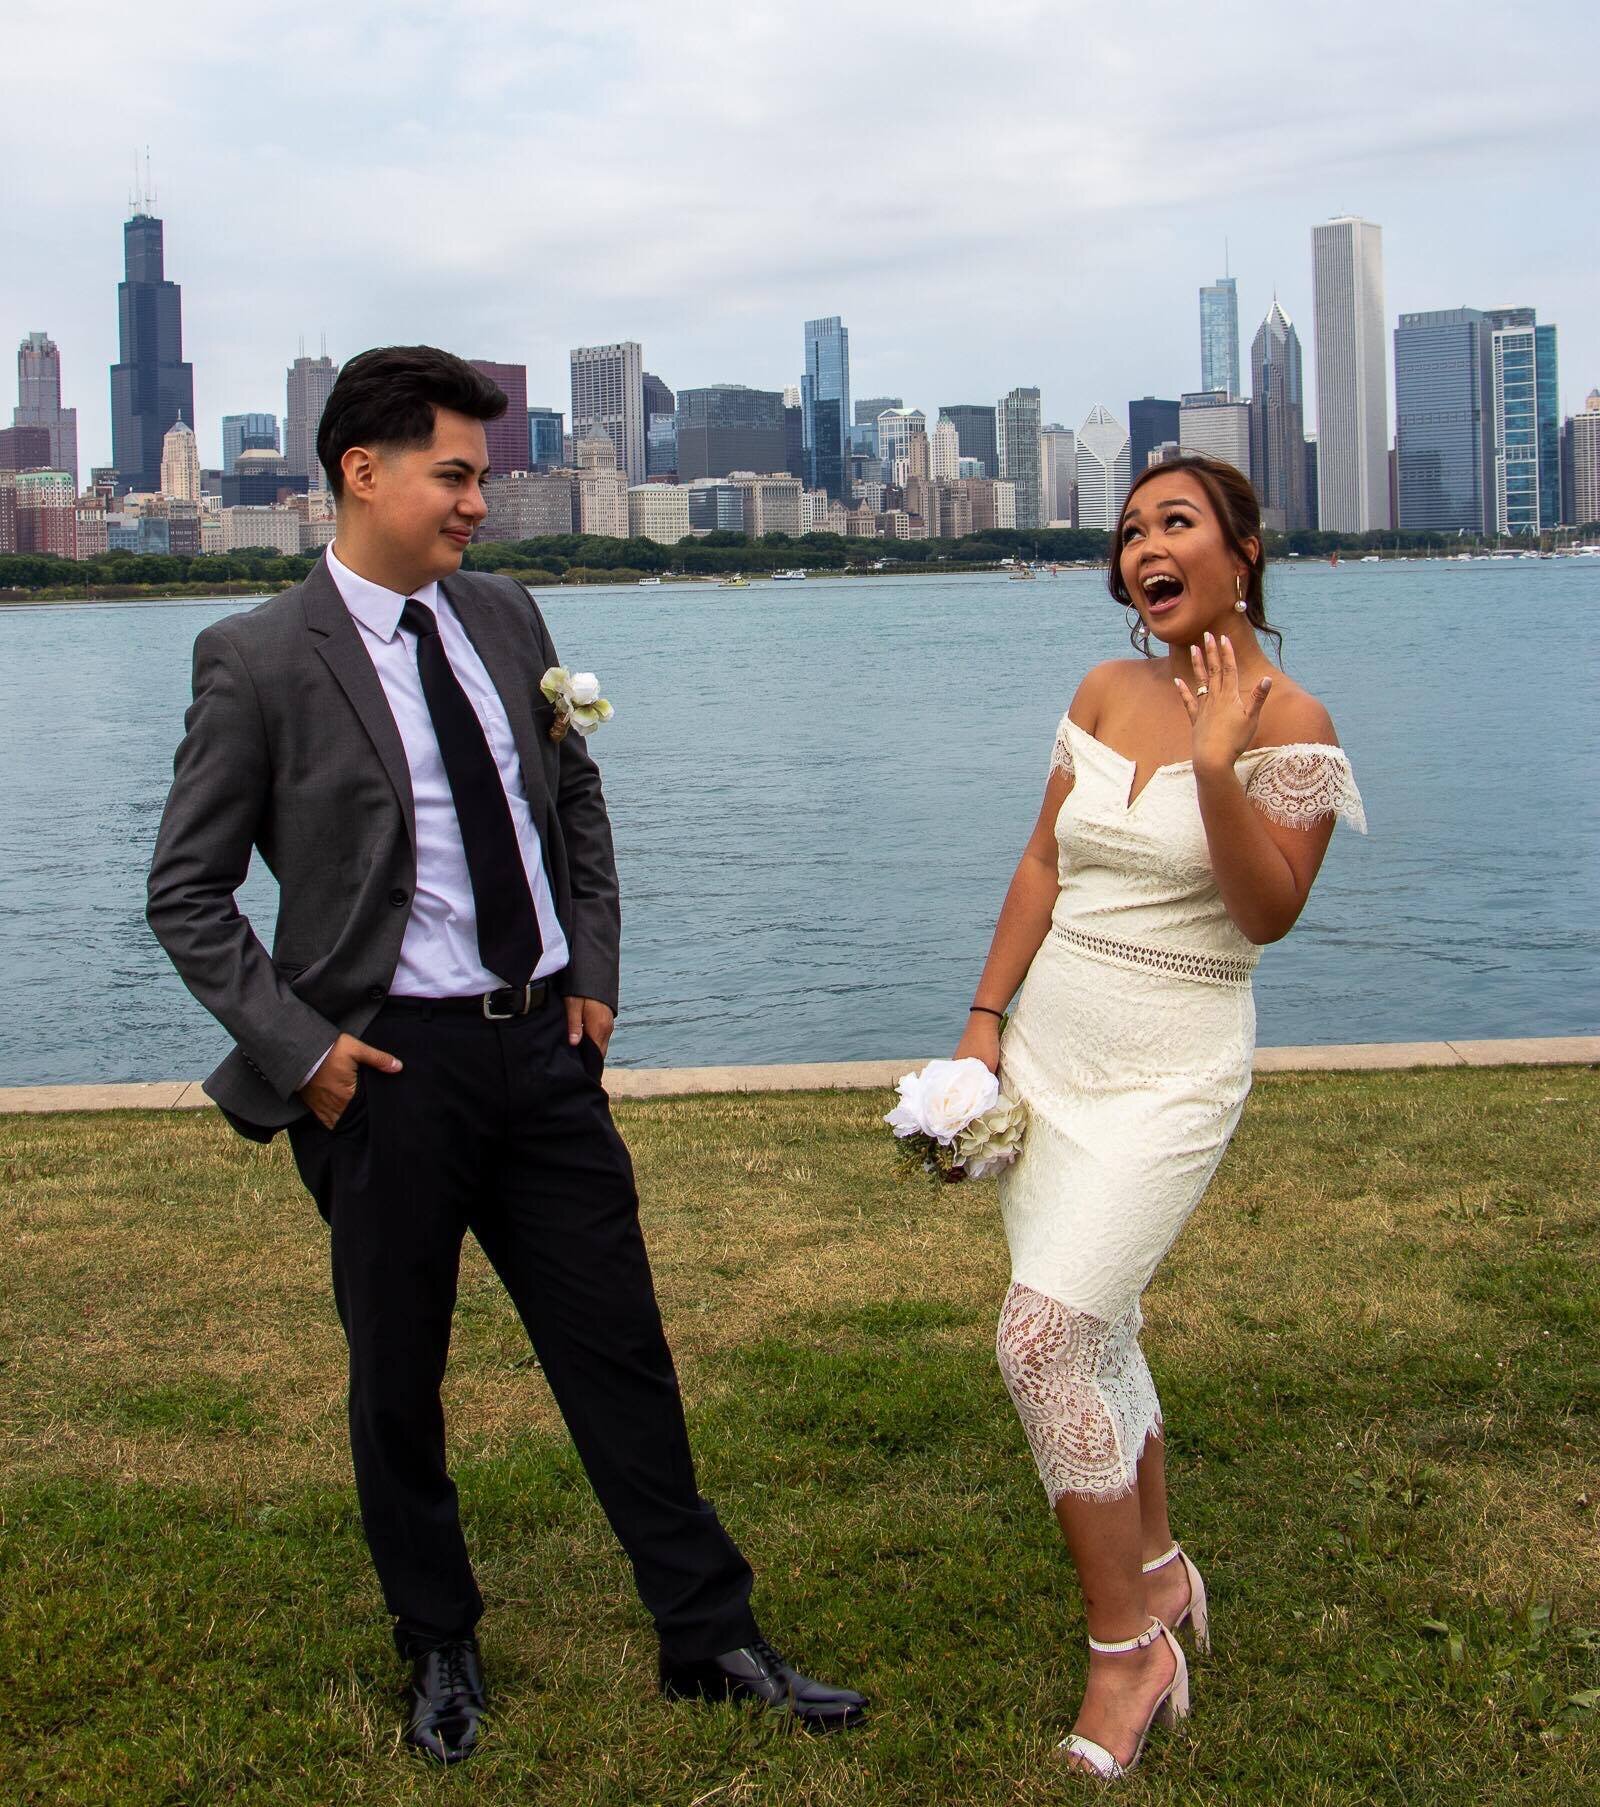
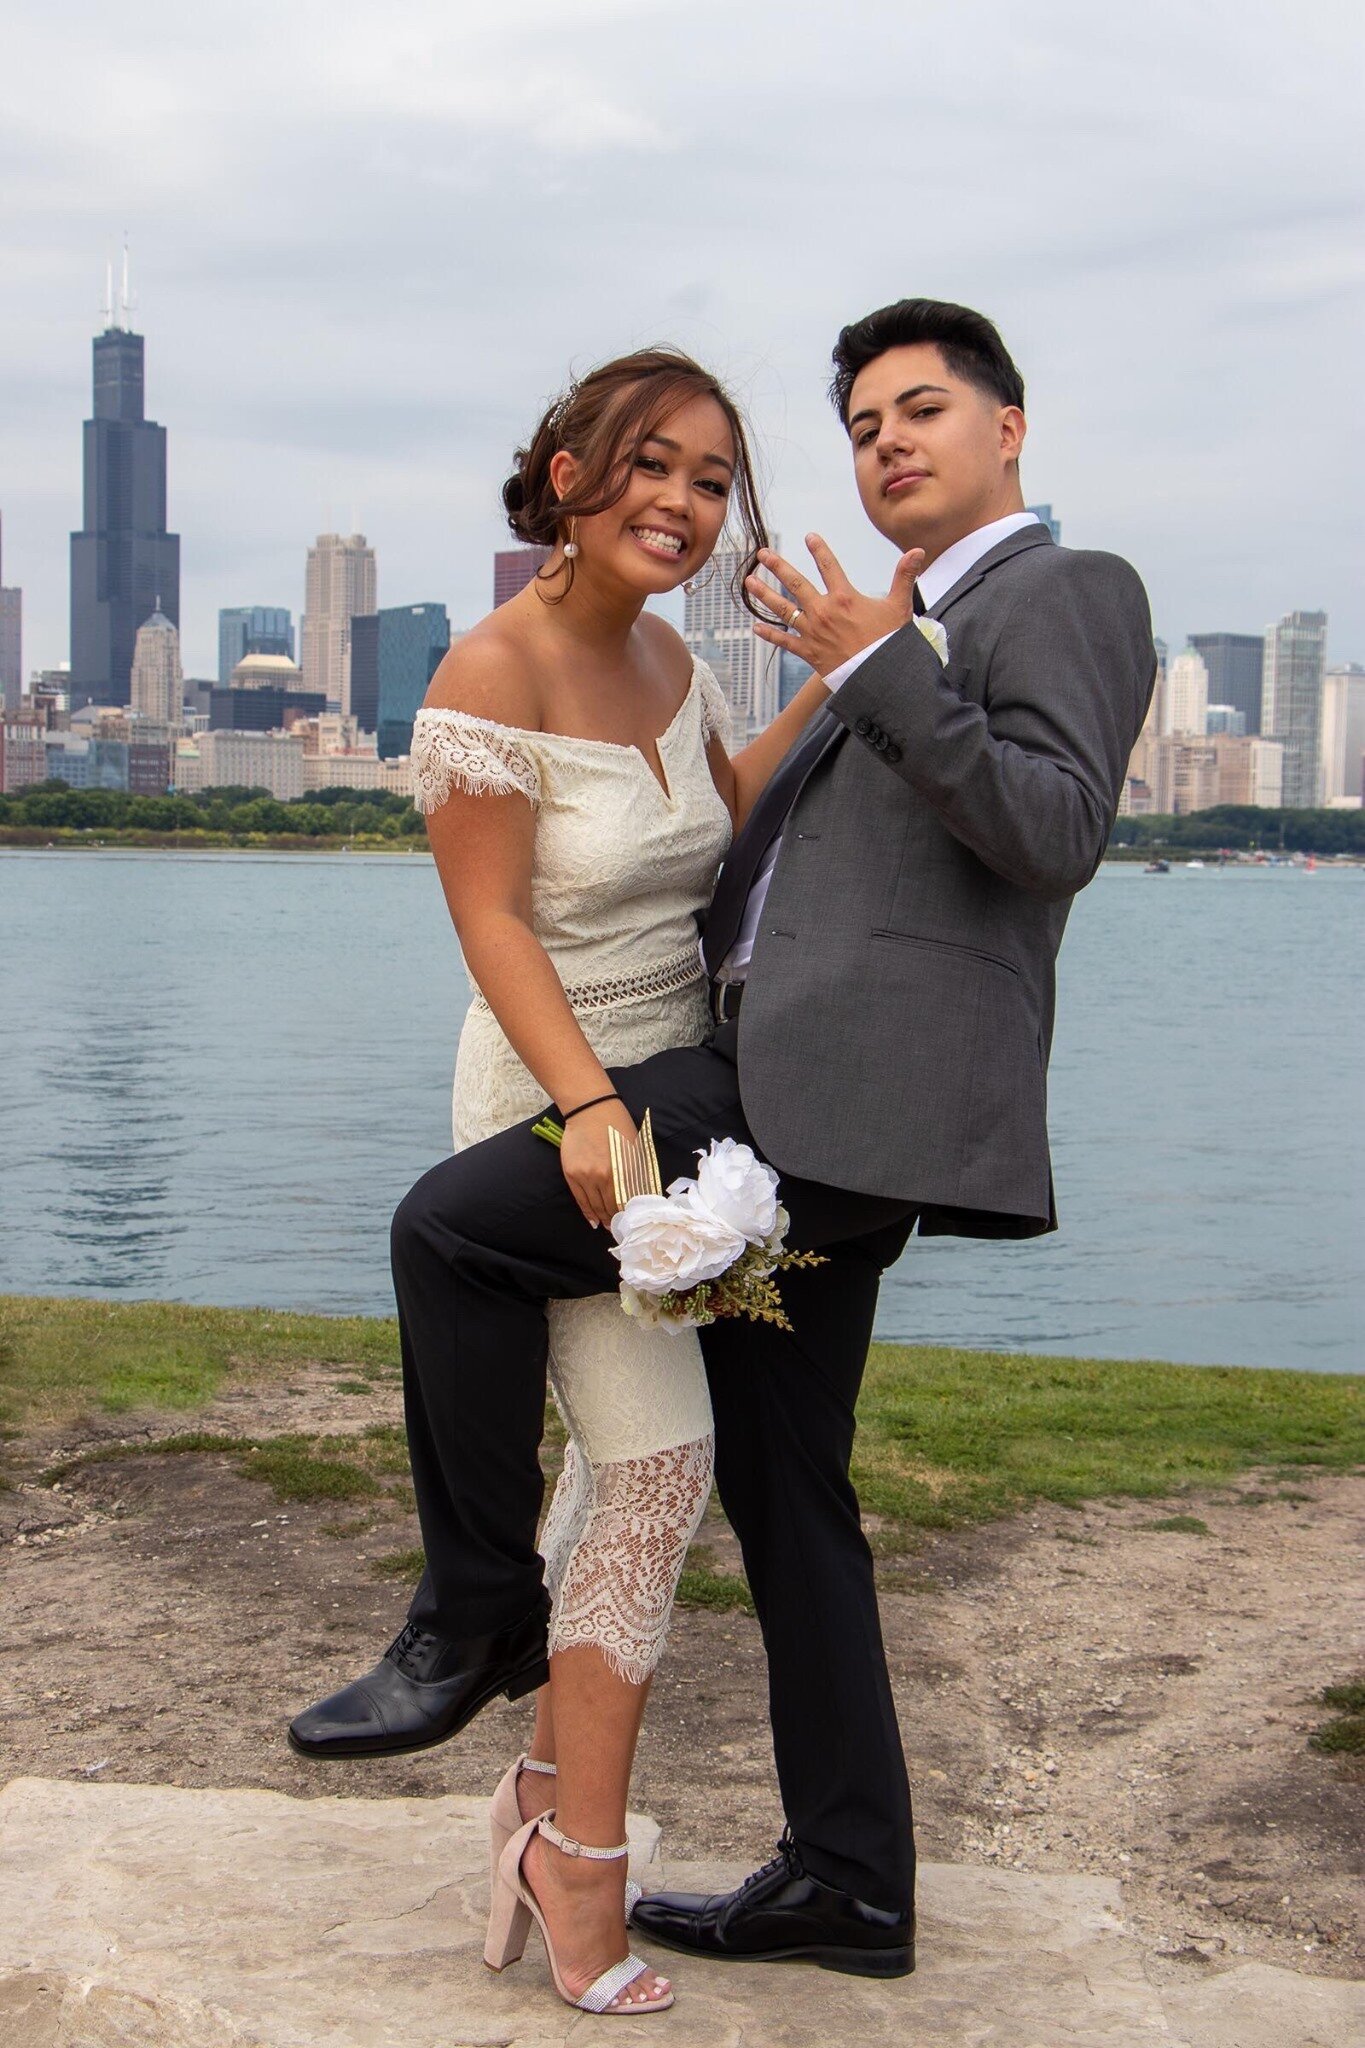
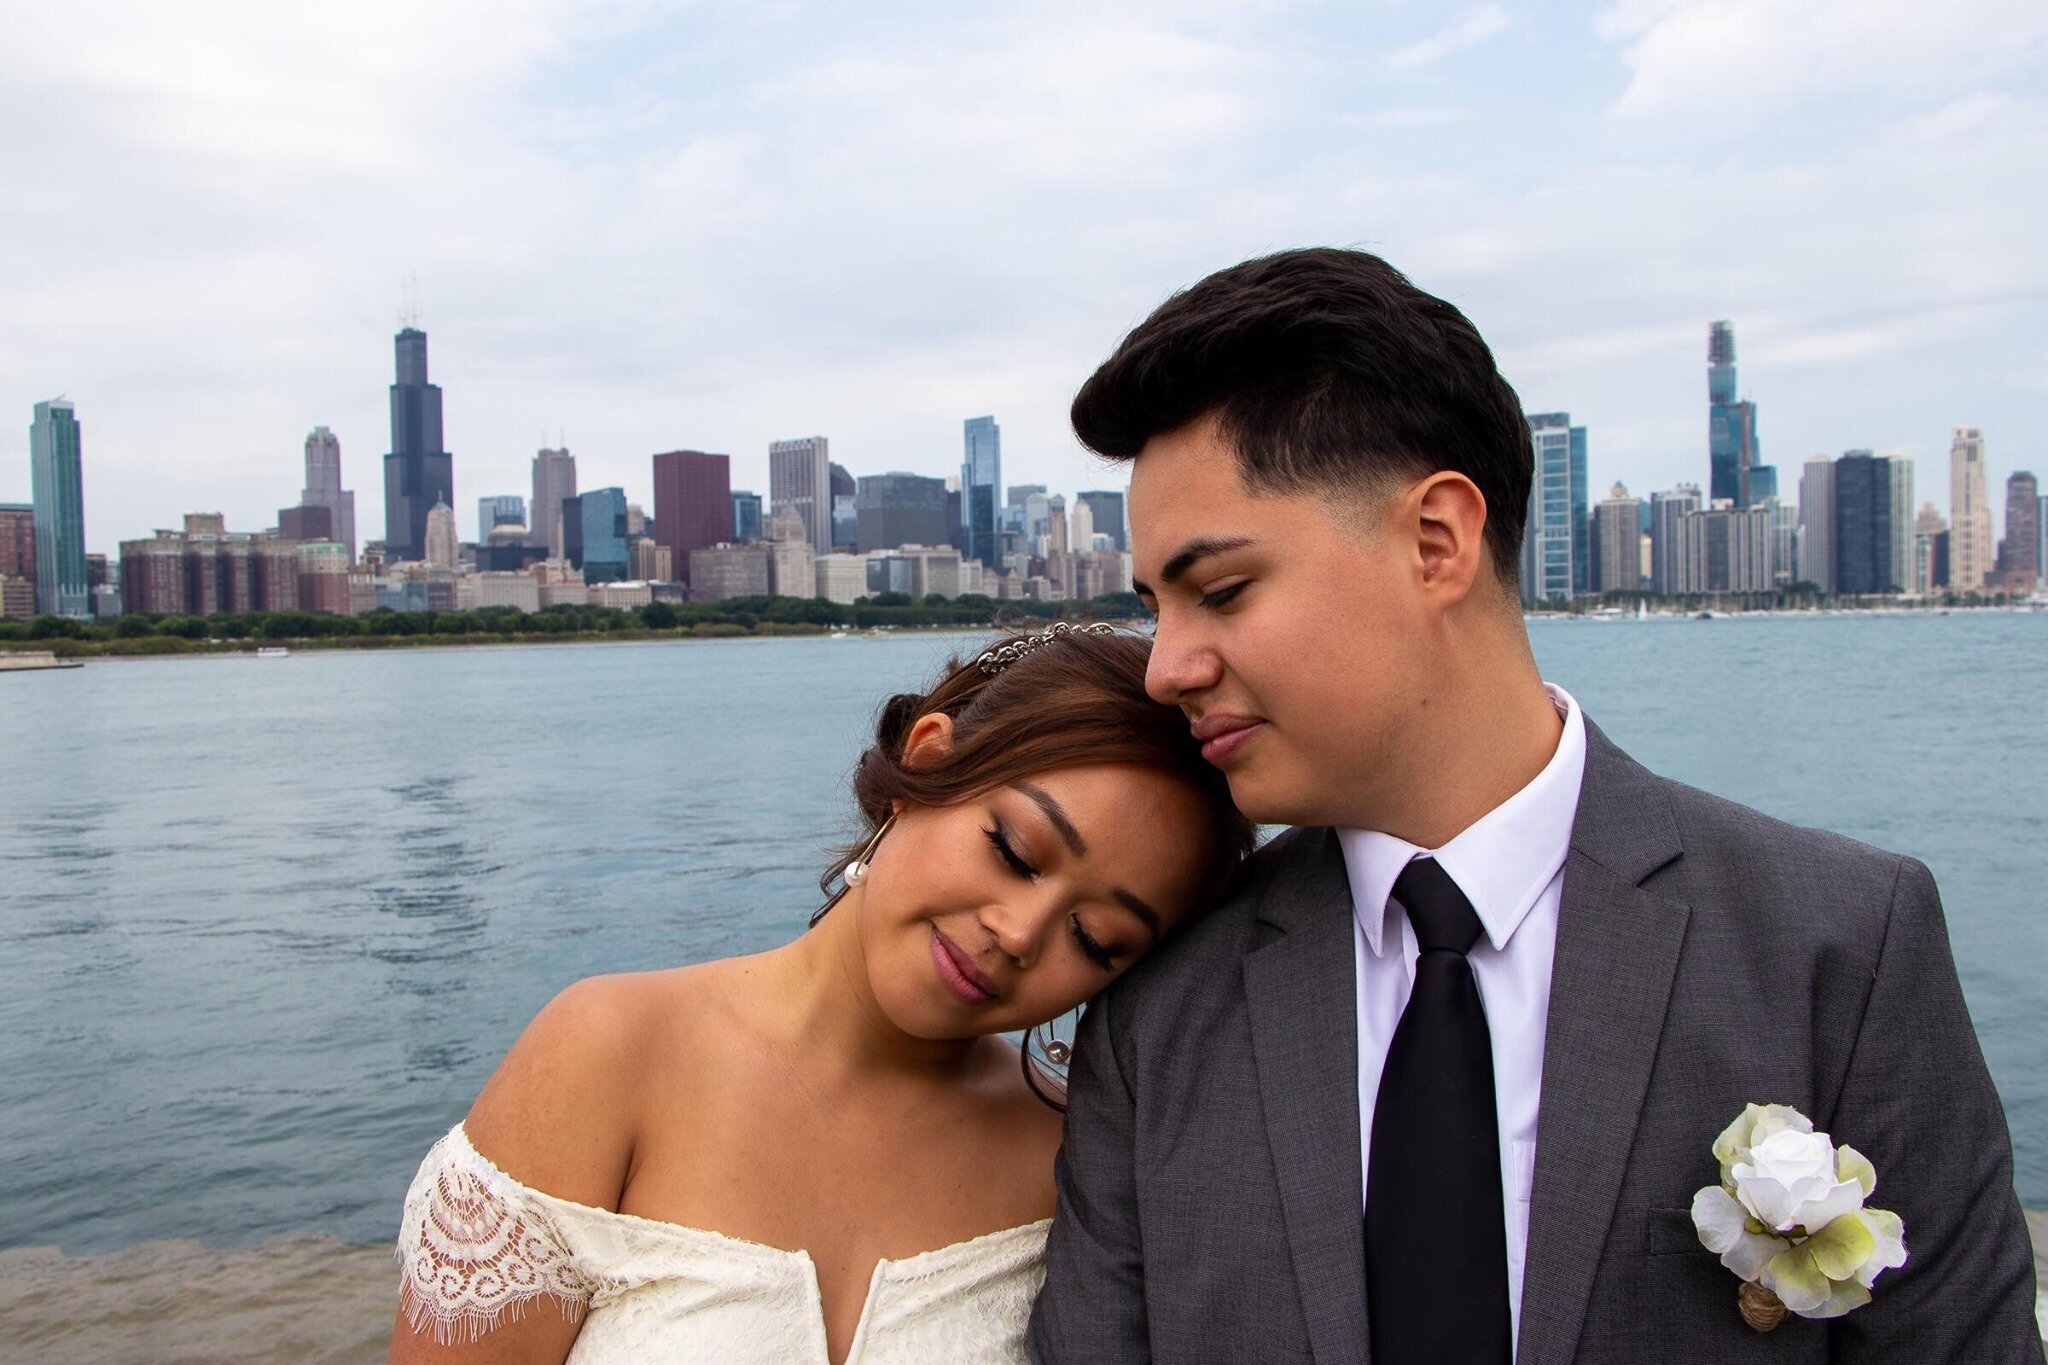
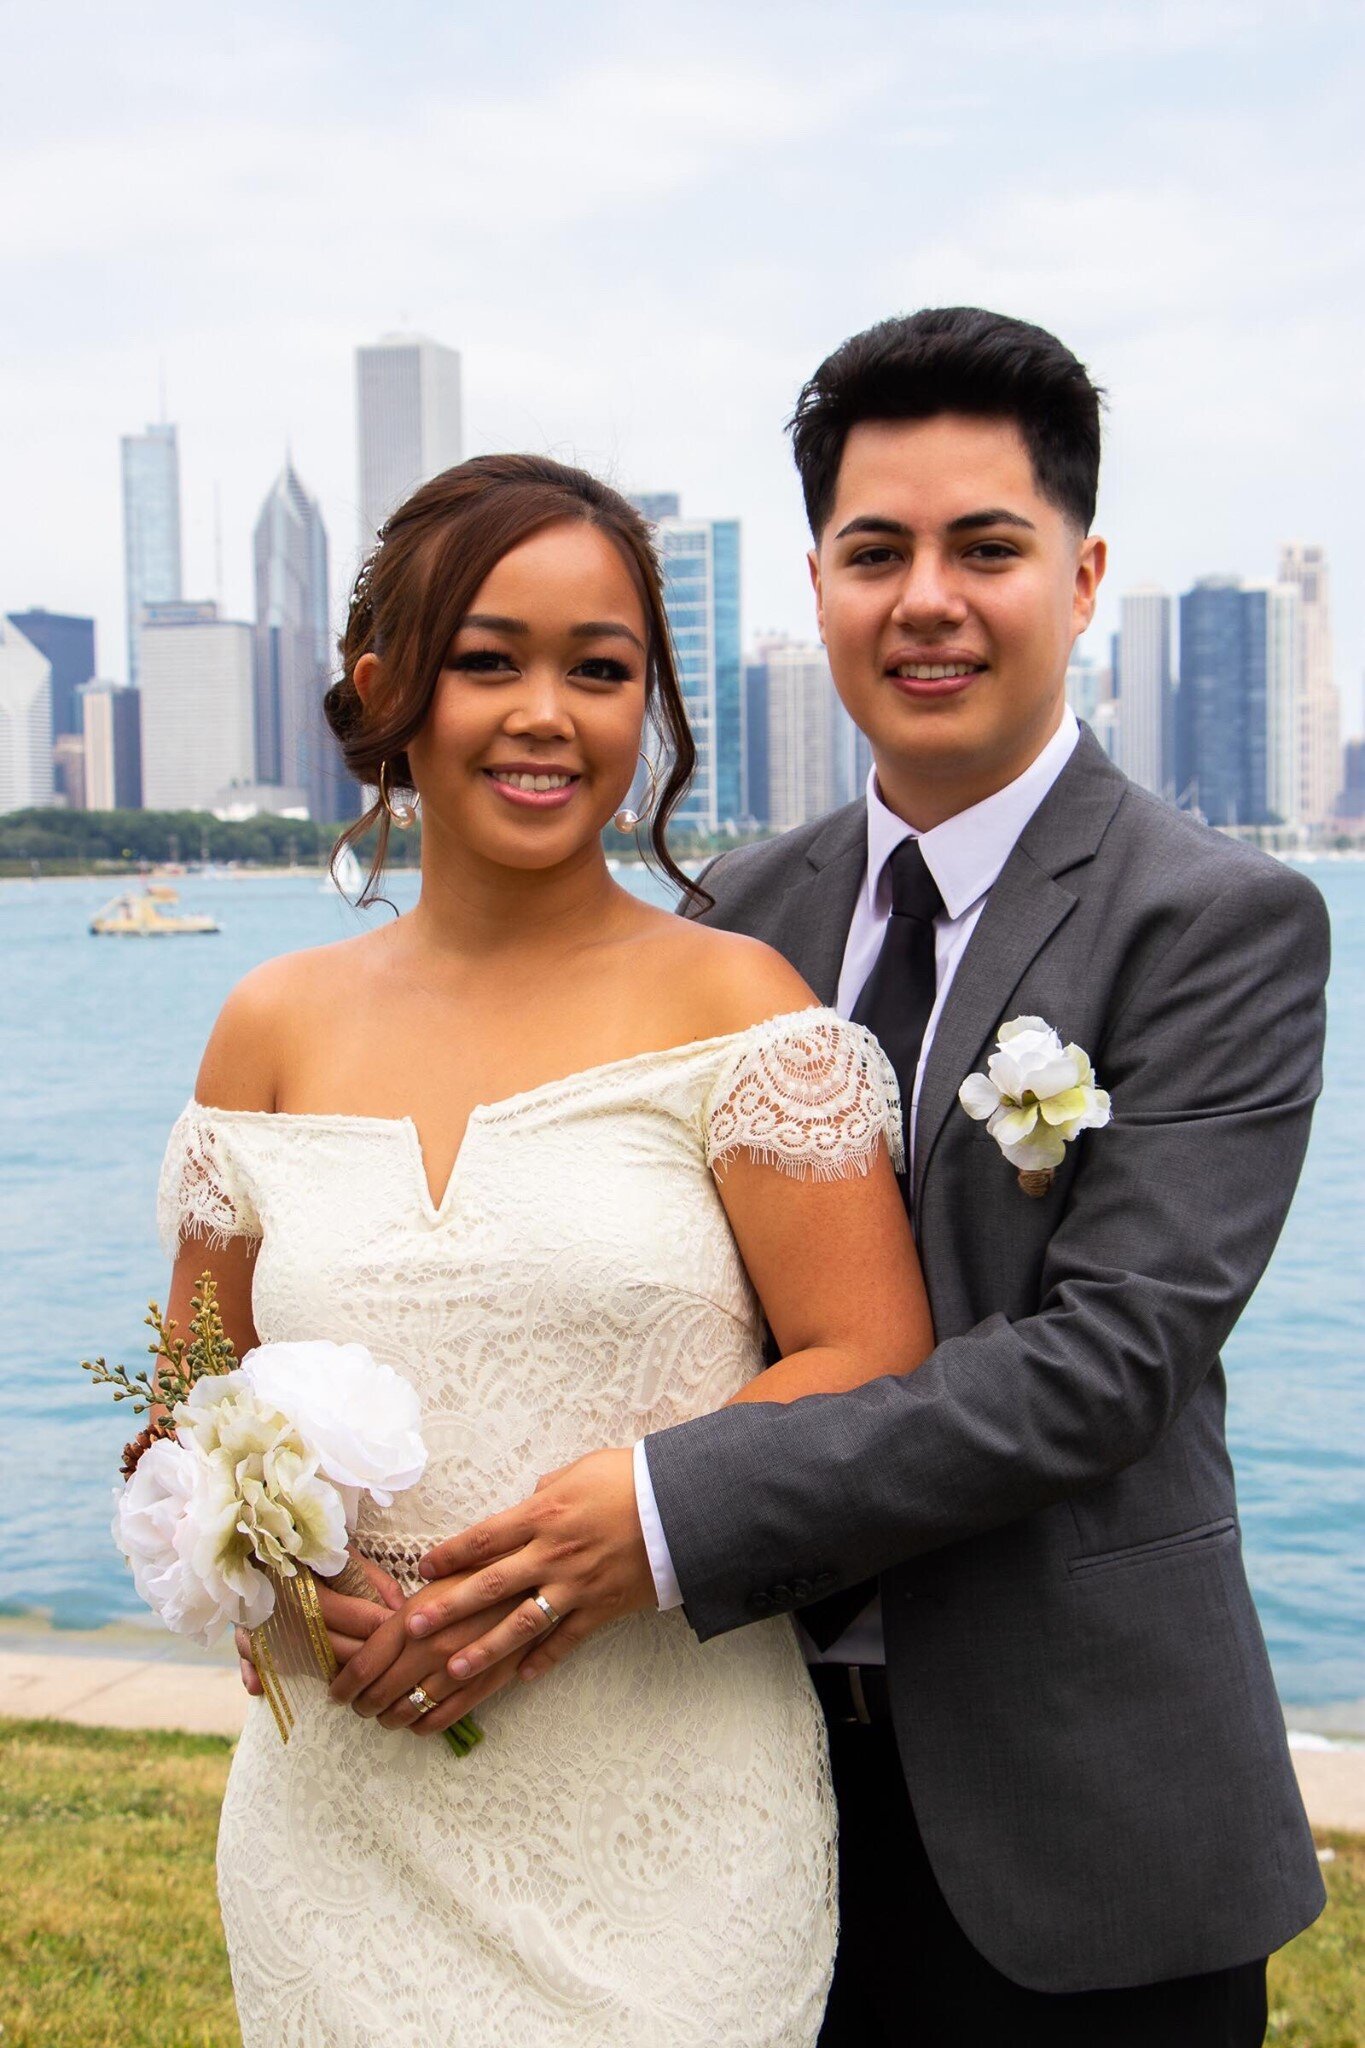
Photo by Esteban Espinosa
Most women have been dreaming of their wedding day as one of the most magical days of their life. So many expectations, keeping up with traditions, stressful planning, and getting your sh** together. One of the most challenging things I faced was budget. WOO! Big surprise! Not really though..
As a newly grad, I’m still struggling with money. No shame here. I know I’m not the only one on this boat. Not that I’m broke or anything, I just try to keep my spending into a minimum so I won’t be broke. So how did I manage to have a magical wedding of my own? With A LOT of creativity, connection, and utilizing individual talents.
Let’s back track a little and see how this all came about.
So my now husband, Paul, actually proposed to me late November last year. I’m actually still laughing at how he asked me. We both are actually. It was an intimate, yet hilarious way of asking me to marry him. I don’t think any other girl would have said “yes” if they were asked in the way that Paul asked me to be honest, but I did because I love him and I found it so cute and ugly at the same time and I love that about him. Anyway, I said yes, but we never really announced it to the world, mainly just our family. We didn’t tell anyone else until few weeks before we decided on a date for the wedding.
Moving forward, over the summer, I went on a 5 week Europe Vacation with my sister and my cousin’s family and when I came home, Paul brought up the wedding. I like to tease him about how he missed me so much that he wanted to get married sooner. To be fair, we never really planned when we wanted to get married. It was all up in the air. However, I prefer the “missing me so much” story A LOT. With consideration of Back to School season, and Paul finishing his last year of Grad School, we agreed to get married before school started, so we can focus on one thing at a time.
Now that you know a little about how it all came about, let’s talk about planning!
PLANNING OUR ACTUAL WEDDING
P.S. All items mentioned below are linked to their respective sites I bought them from.
HOW?
After setting the date, I began writing a list of things that need to get done or what we needed in order to get married. First, a list of all the legal requirements to get married, then all the party planning/decor stuff! I got a little too excited with a handful of DIY projects since Paul let me run with the wedding planning.
MARRIAGE REQUIREMENTS
Most cities have similar requirements in order to get married. Growing up, people kept talking about how weddings are so expensive and very stressful to plan. I was surprised on how much you actually need to be officially married to someone. Can you guess how much? Seventy dollars. Yeah, you read that right! Seventy freakin’ dollars! (In Chicago at least). I’m the type of person who needs to know EVERY possible thing needed before doing something so I don’t waste my time going back and fourth collecting things. If you’re in the process of planning on getting married, check your city marriage council’s website for the requirements you need as well as fees.
In Chicago, these were what we needed:
-
Marriage License – $60 at the Vital Records Office. Fill-up the application online to skip the line when you go pick it up.
-
ID – for verification purposes.
-
$10 during the day of ceremony for the Judge
THAT’S IT! Everything else that makes a wedding expensive is the other extra stuff that people CHOOSE to spend on. With a creative mind, being resourceful and support from everybody, everything is possible if you’re in a tight budget!
GETTING THINGS TOGETHER. DIY WEDDING DECORATIONS!
I LOVE doing the creative and decorative part of any event. With little time remaining, My husband and I had help from our friends and family when it came to decorating and getting things done for the reception. From my plenty of hours collecting ideas from Pinterest, I came up with an inspiration sketch checklist that I wanted to execute for our wedding that fit our budget.
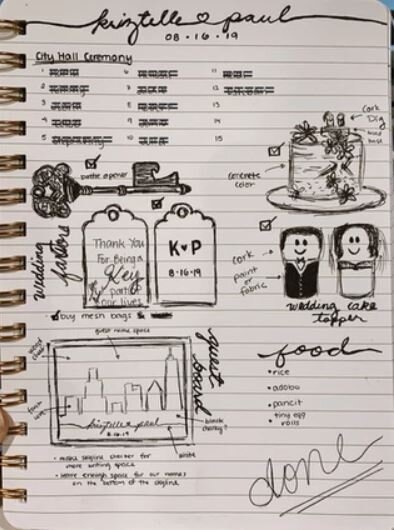

First on my checklist were the 15 people we were to invite for the ceremony. I’ve crossed out the names since that’s irrelevant to this post. I did create a digital invitation for both our wedding ceremony and reception. It was too late to send invitations out and making digital ones could be free if you you know your way around a computer and the internet. If you don’t, luckily there’s Canva. It has a free basic-use platform that you can use to make your content. I used Canva and a little bit of Adobe Photoshop to create our wedding invitations. Canva is pretty easy to use because they have pre-made layouts and free images and clips that you can use to create any digital content you need from posters, invitations, cards, flyers, etc.
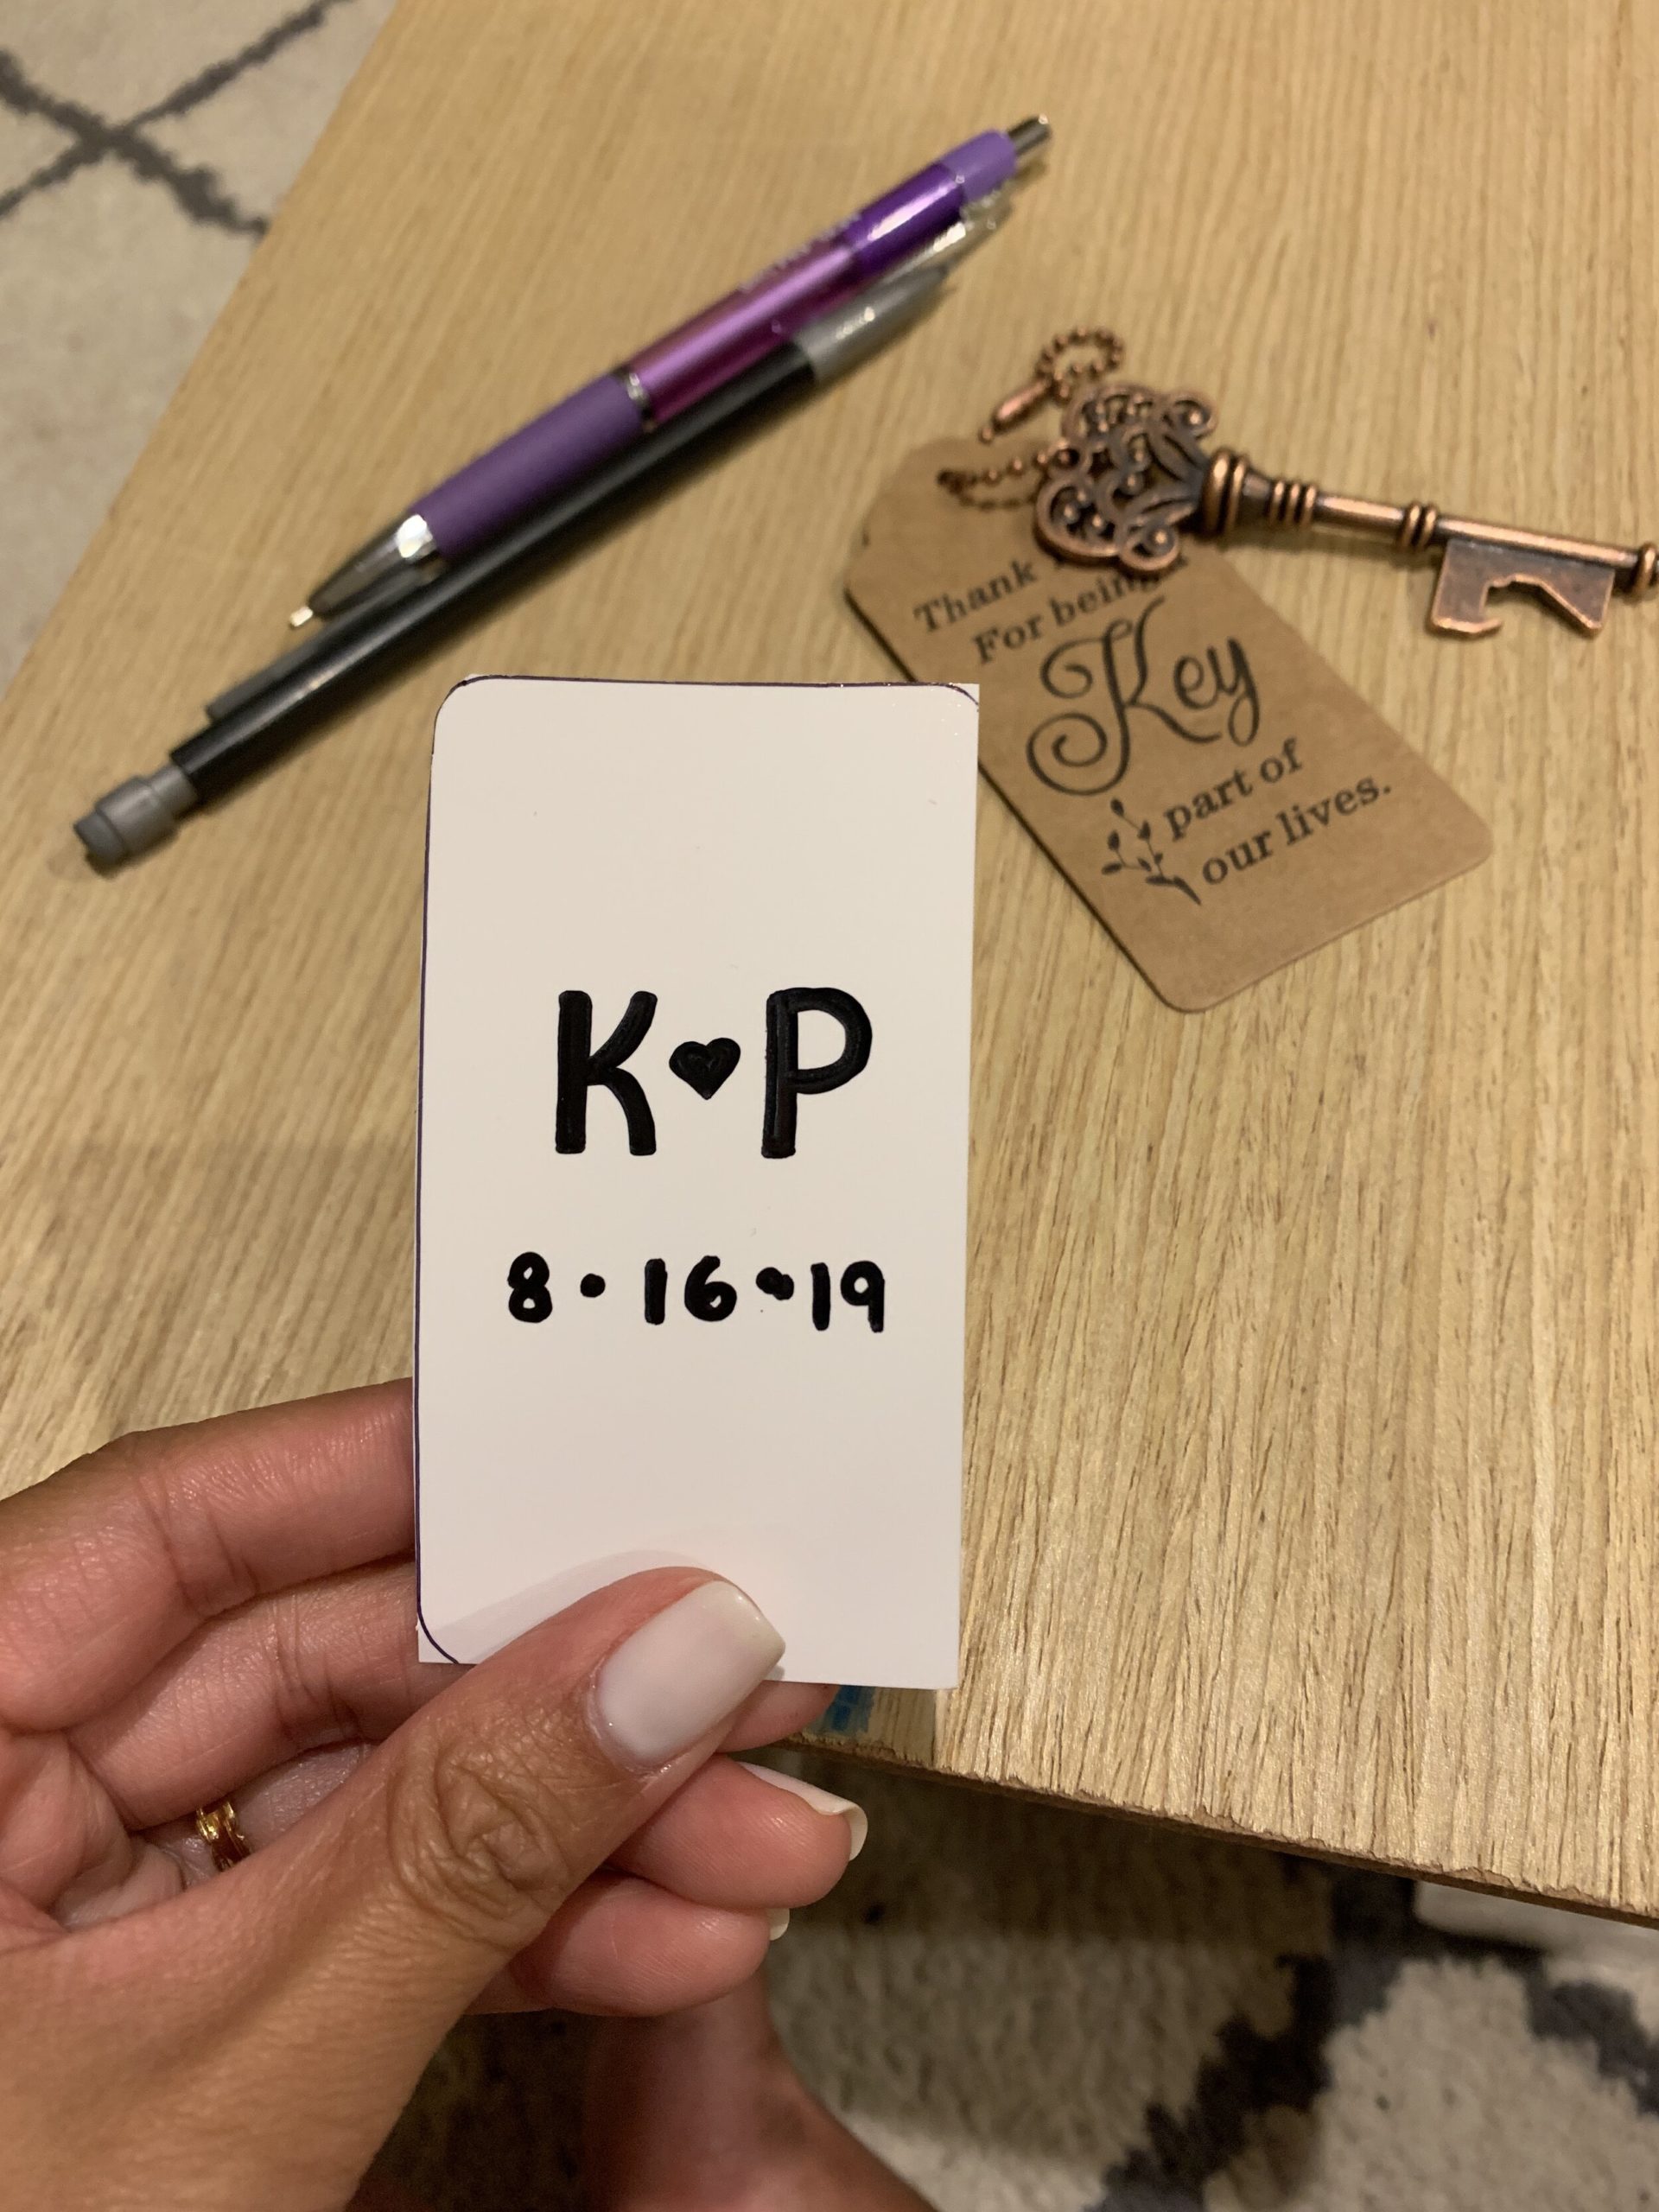
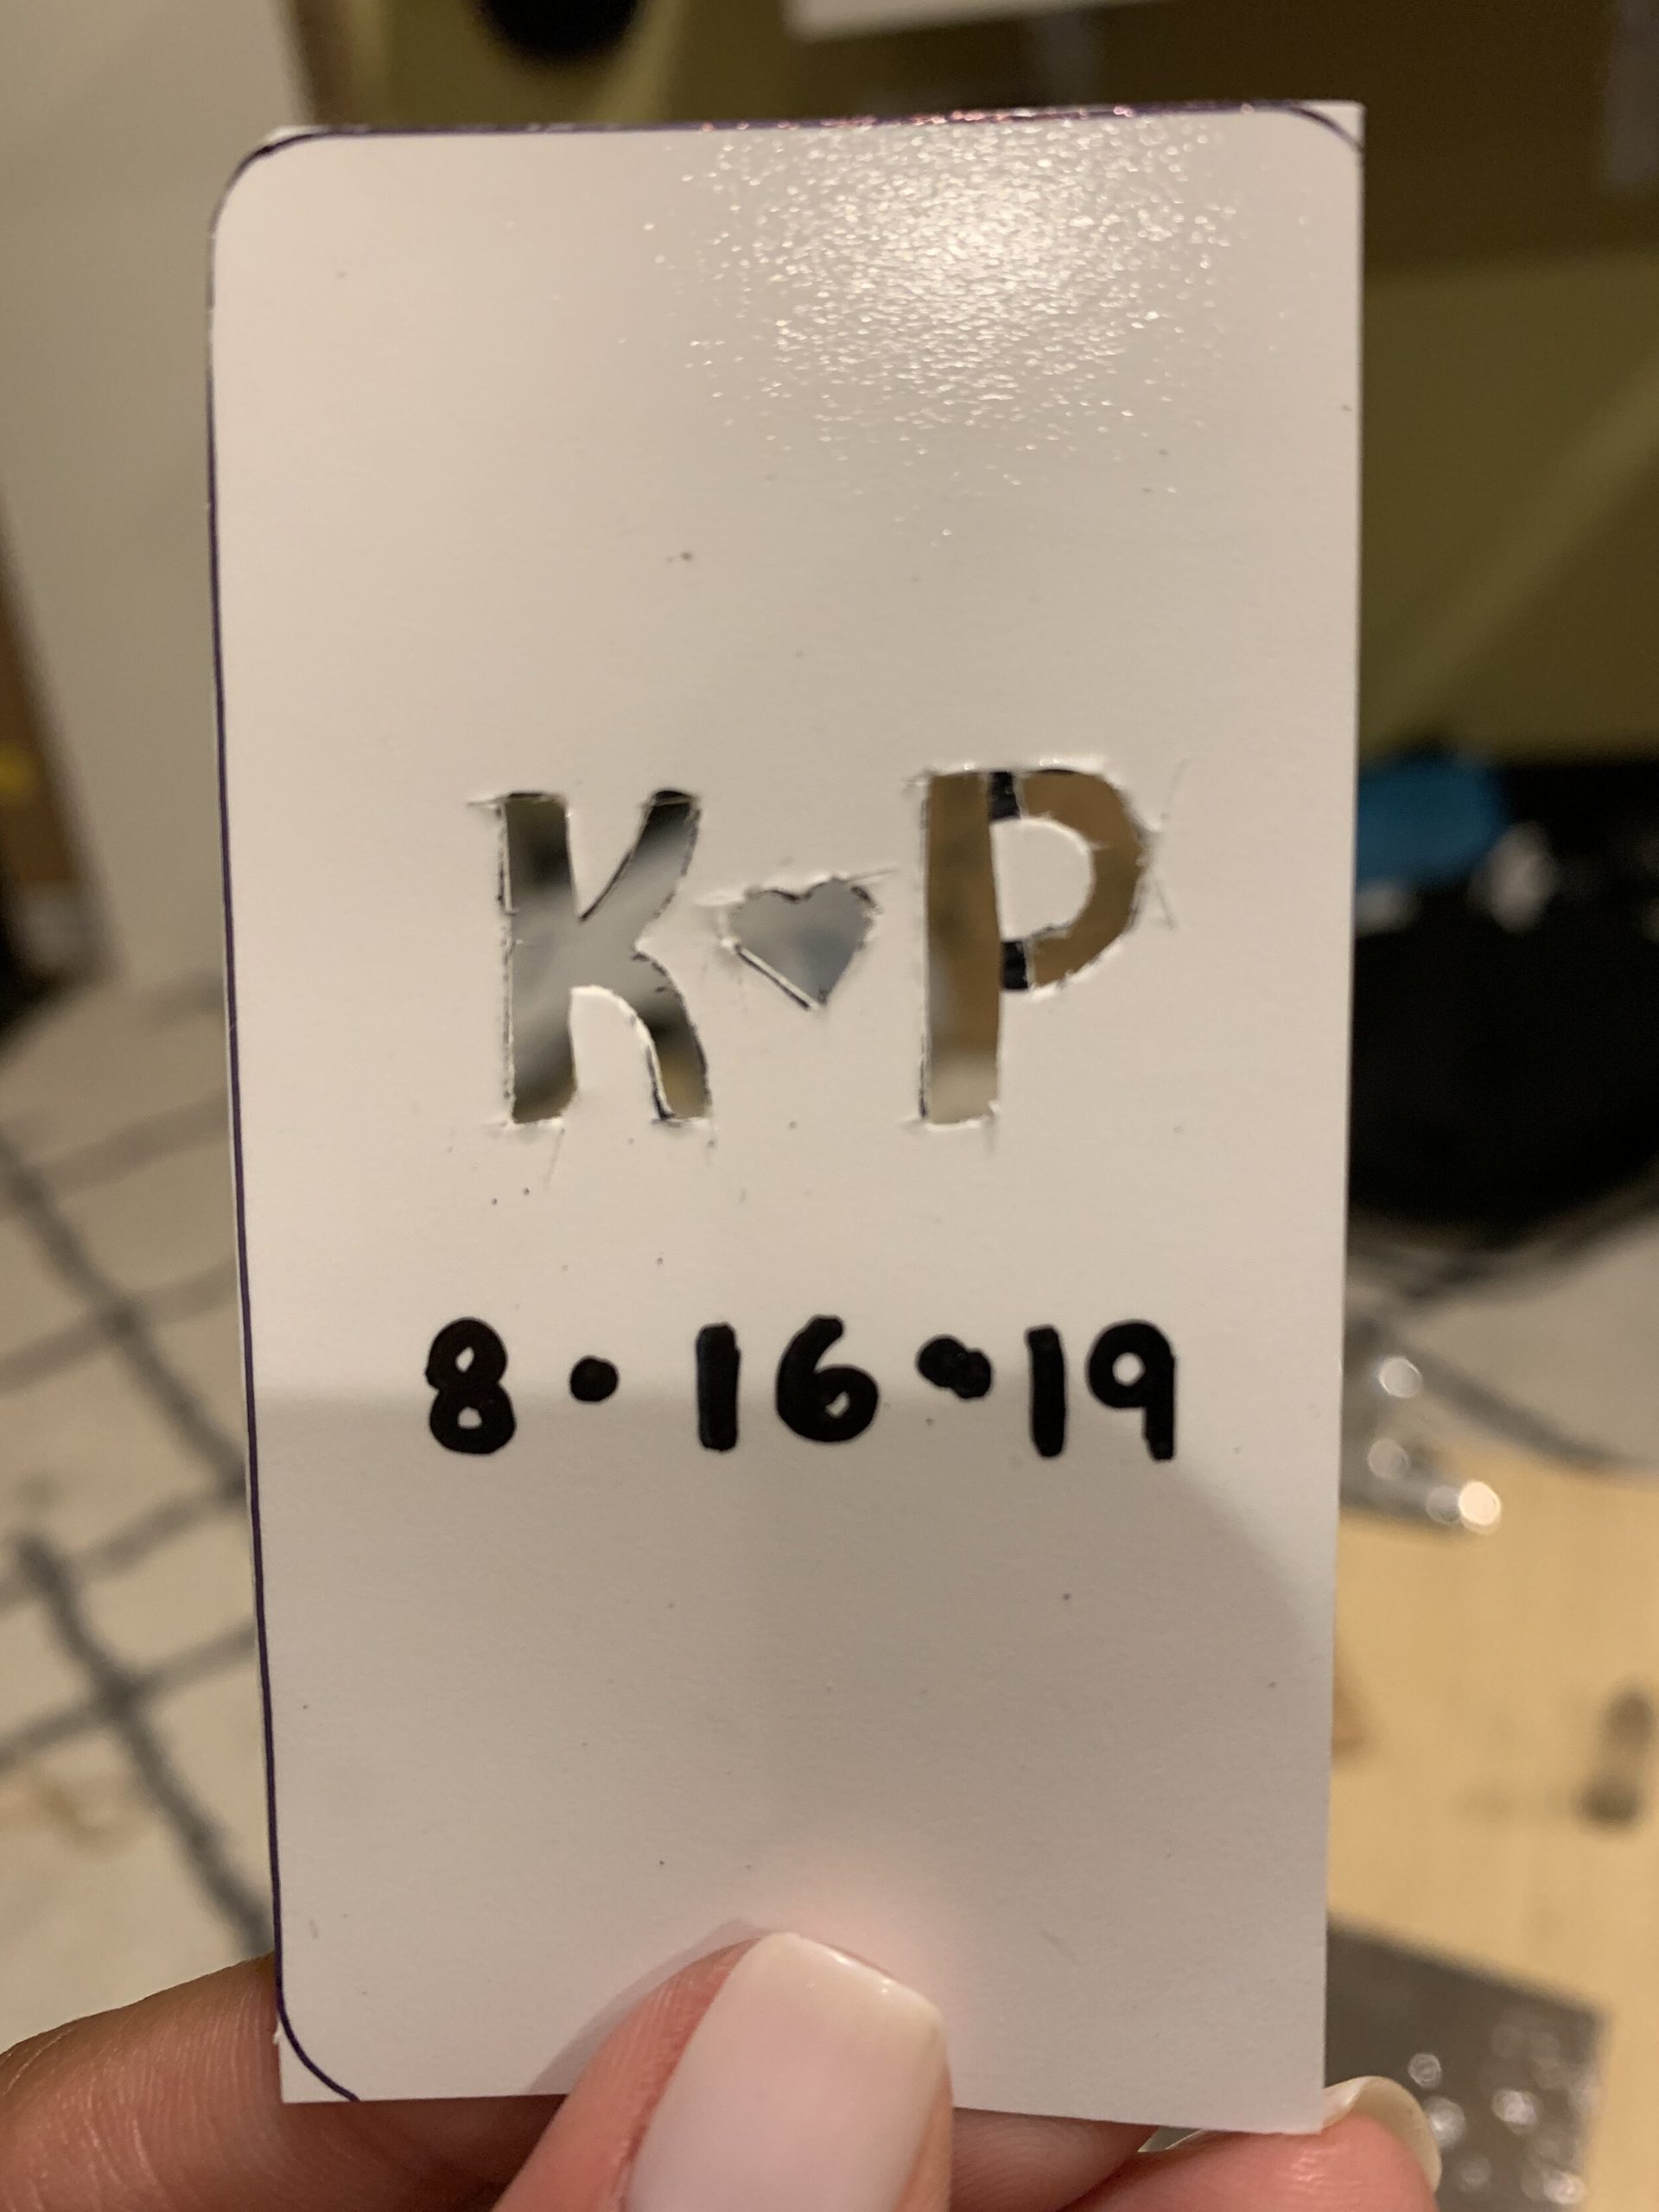
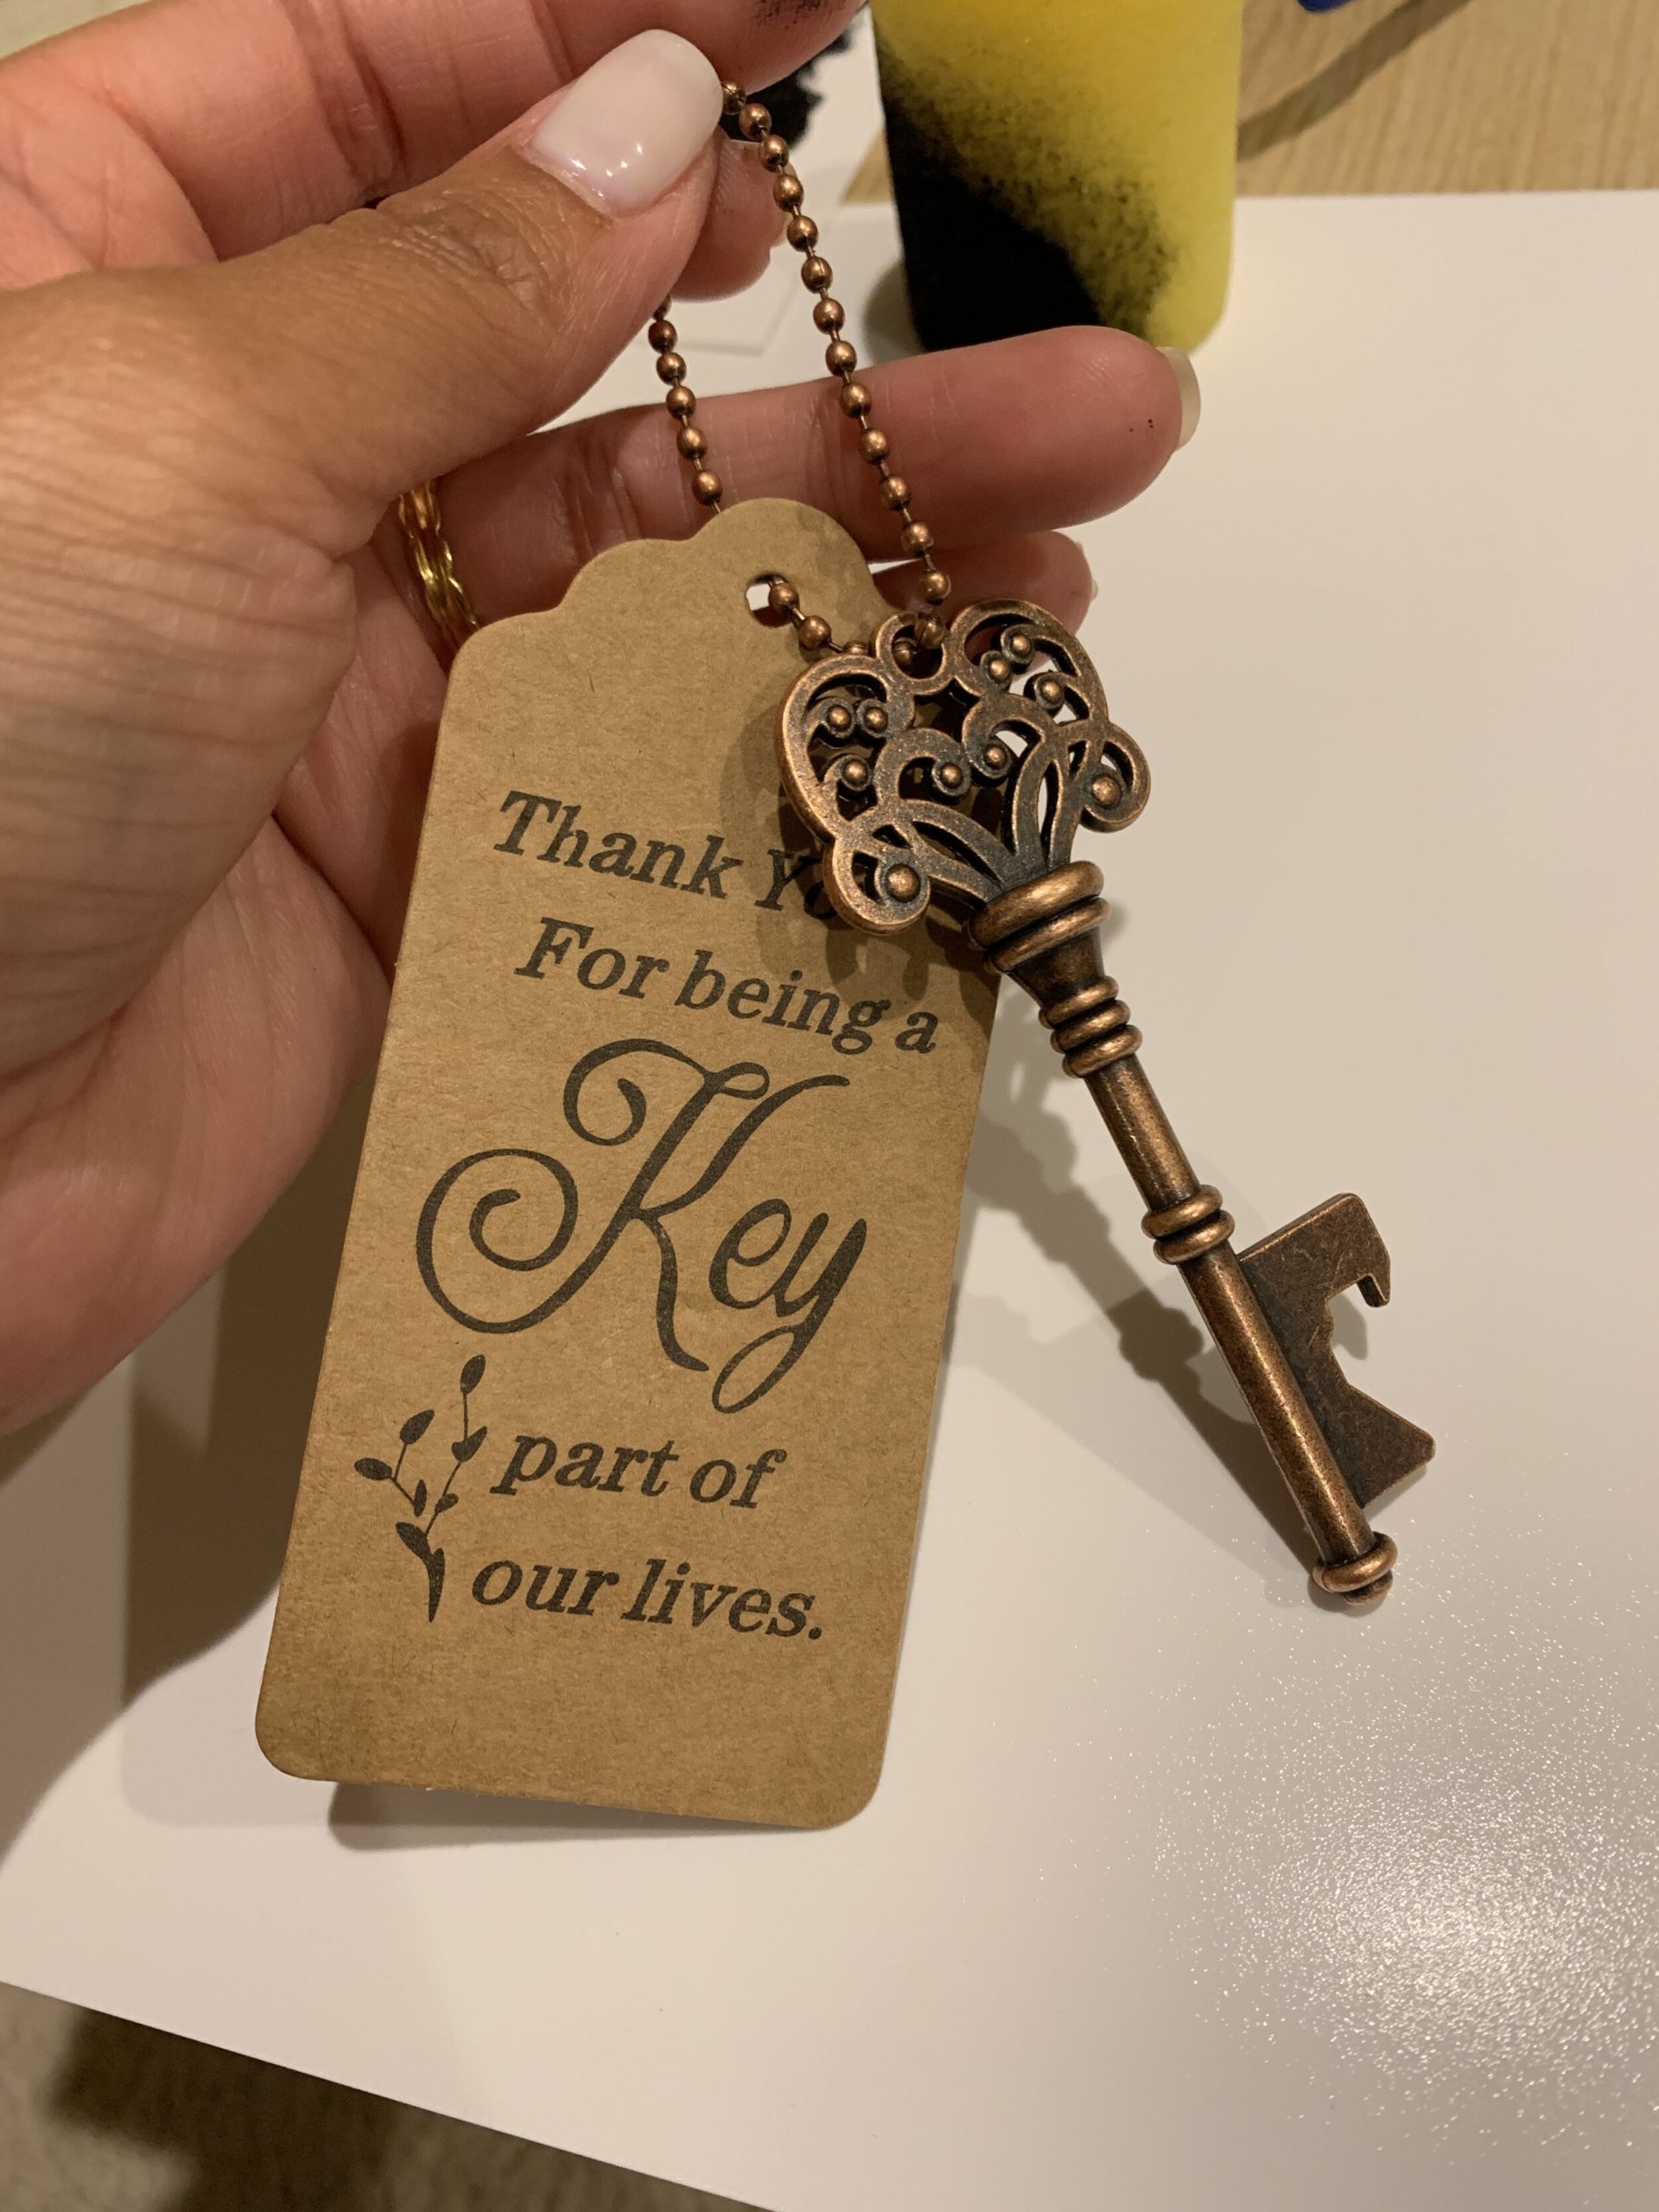
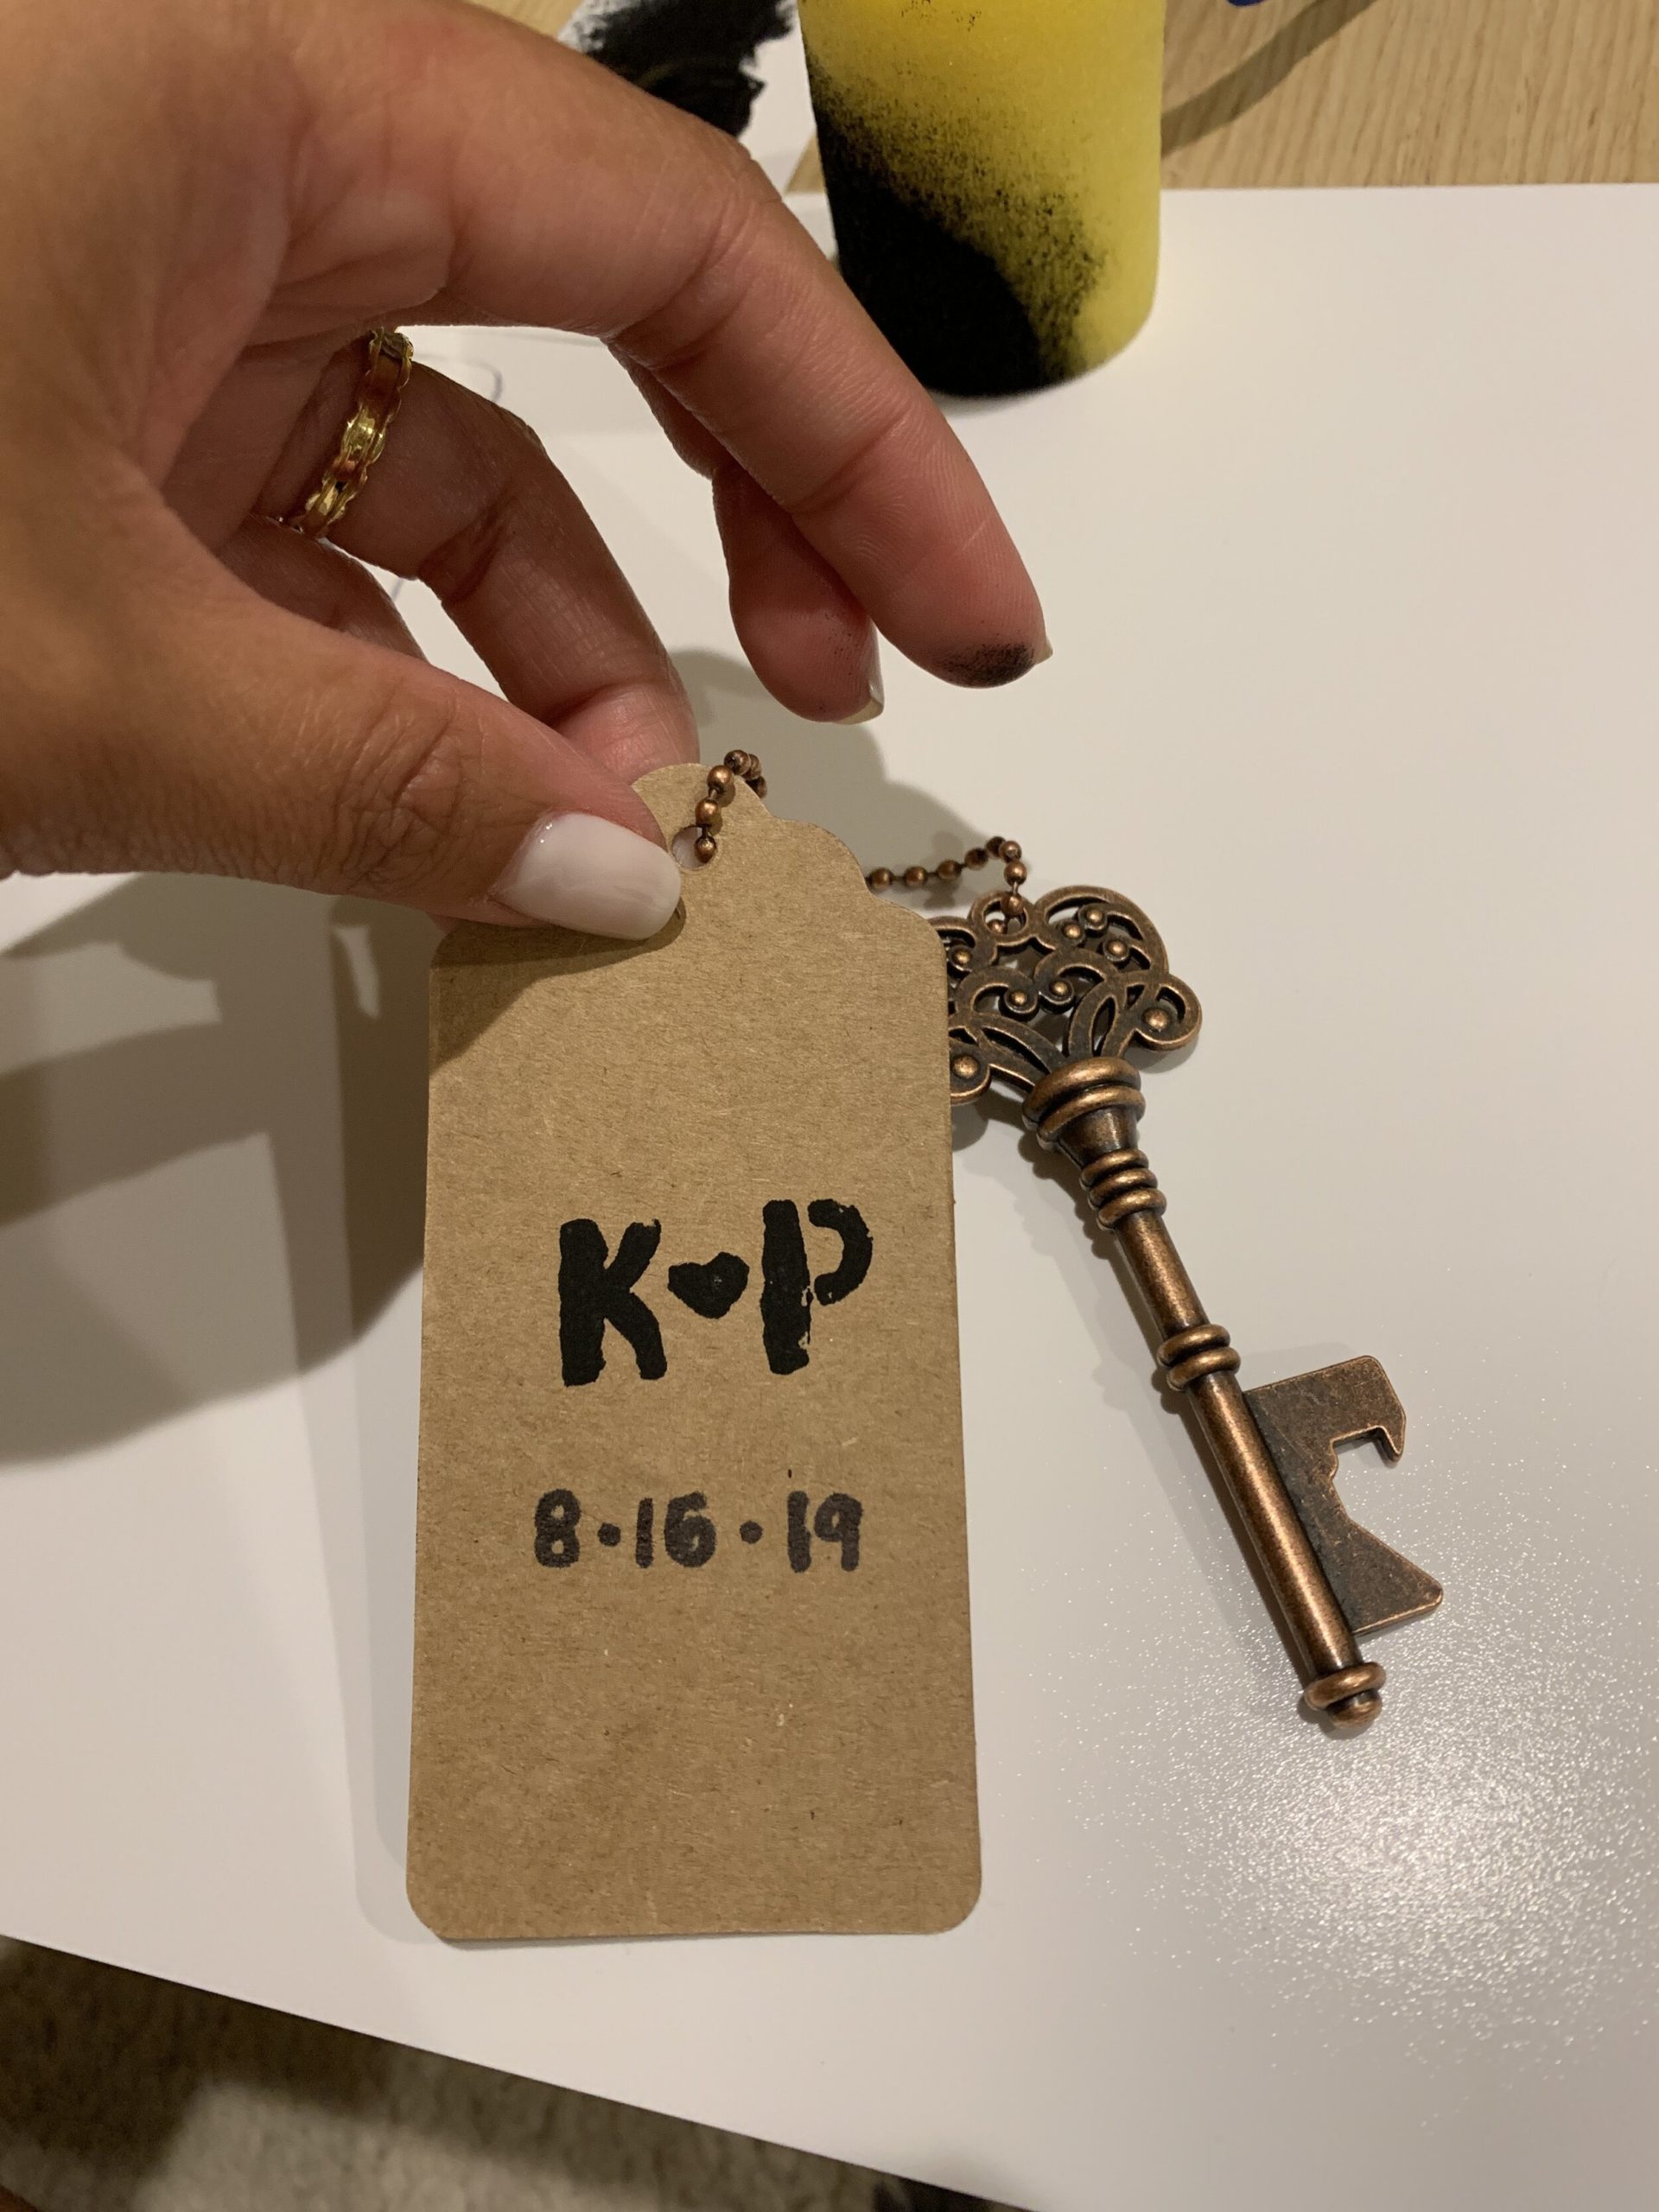
Next on the list is a sketch of the party favor I ordered off of Amazon. Again, I was browsing on Pinterest for party favor ideas and out of no where, I thought of bottle openers. I went ahead and went on Amazon to see what party favors the had to offer, specifically bottle openers and found a key-shaped bottle opener. At first I saw ones that were just the key. Eventually, I found a set of 60 that has a keyring chains and tags with a design on it for only $25.99. There were a couple of designs available but I bought the ones that said “Thank you for being a Key part of our lives” because I found it appropriate for the occasion. I then went ahead and customized the back by creating a stencil of our initials and hand wrote our wedding date. It took me at least 3 hours to complete the customization on these favors. The only thing missing were the bags to put the favors in. I went ahead and went to Michael’s Craft Store and bought a 3″x4″ organza bags for $19.99 for a 50 count. Just bought another 12 count for $6.99 to cover all 60 favors with an allowance of 2 bags. Kind of ridiculous that the bags were more expensive than the actual favors, but I wanted to bag them.

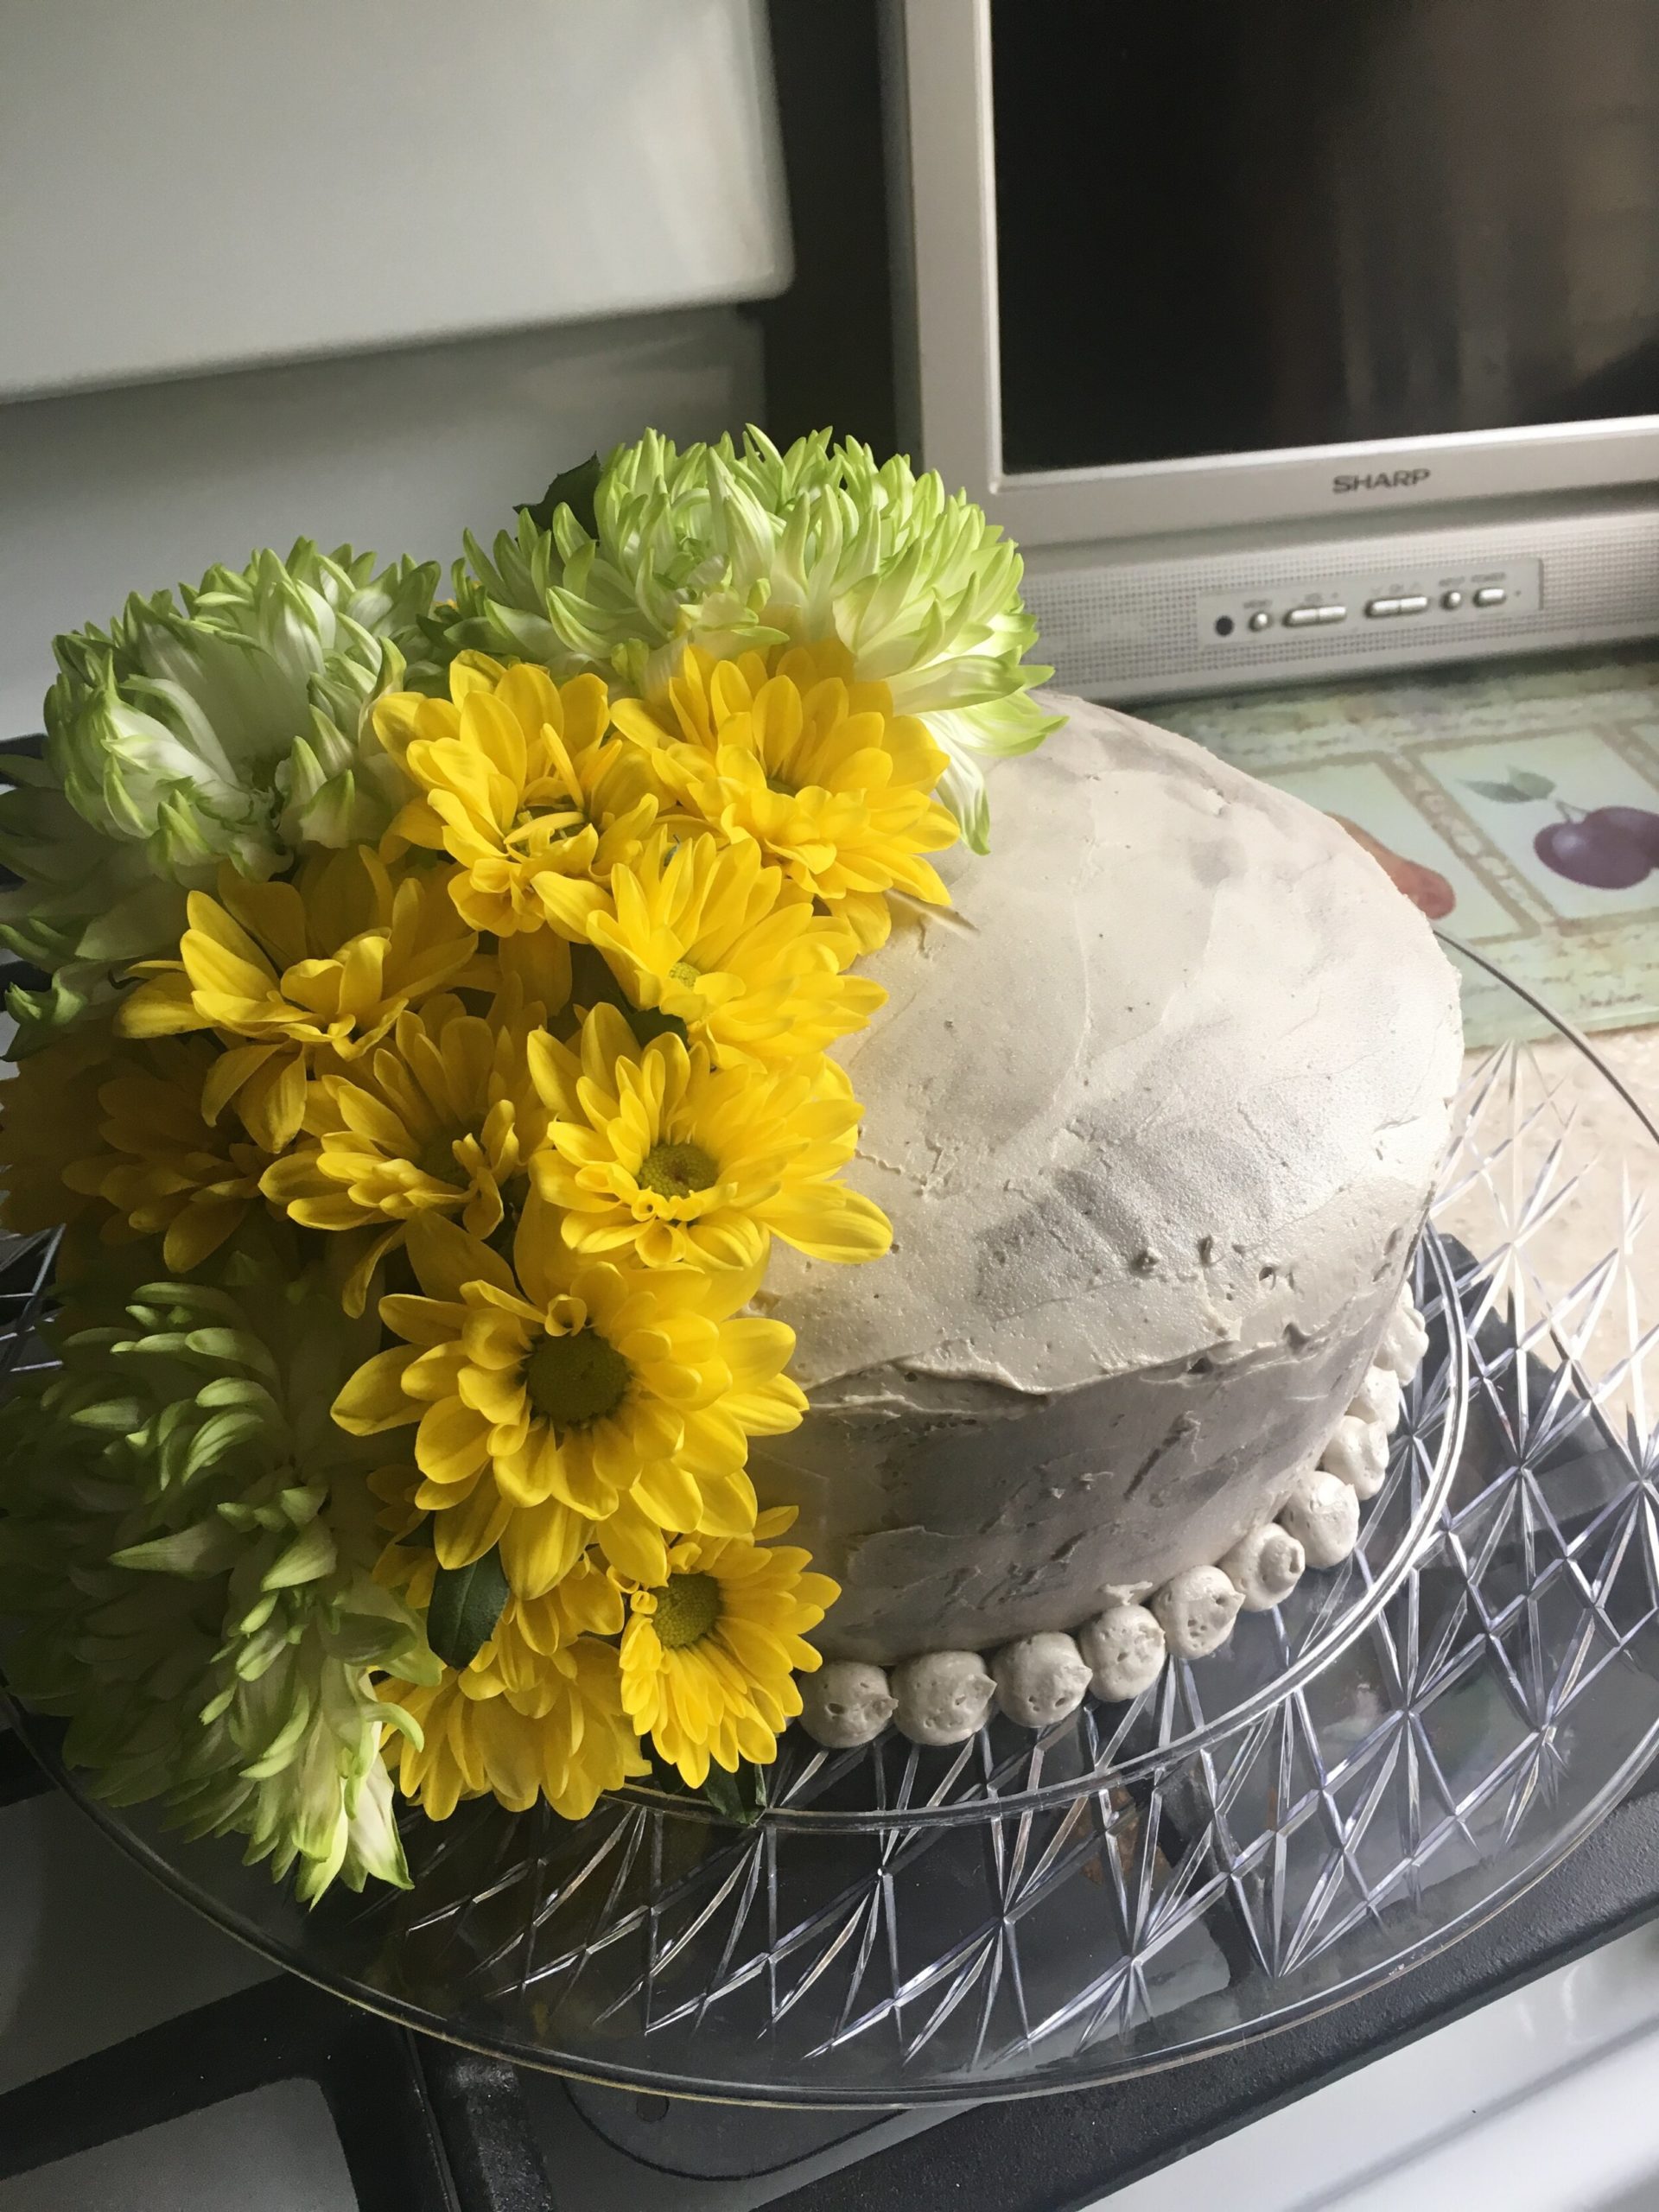
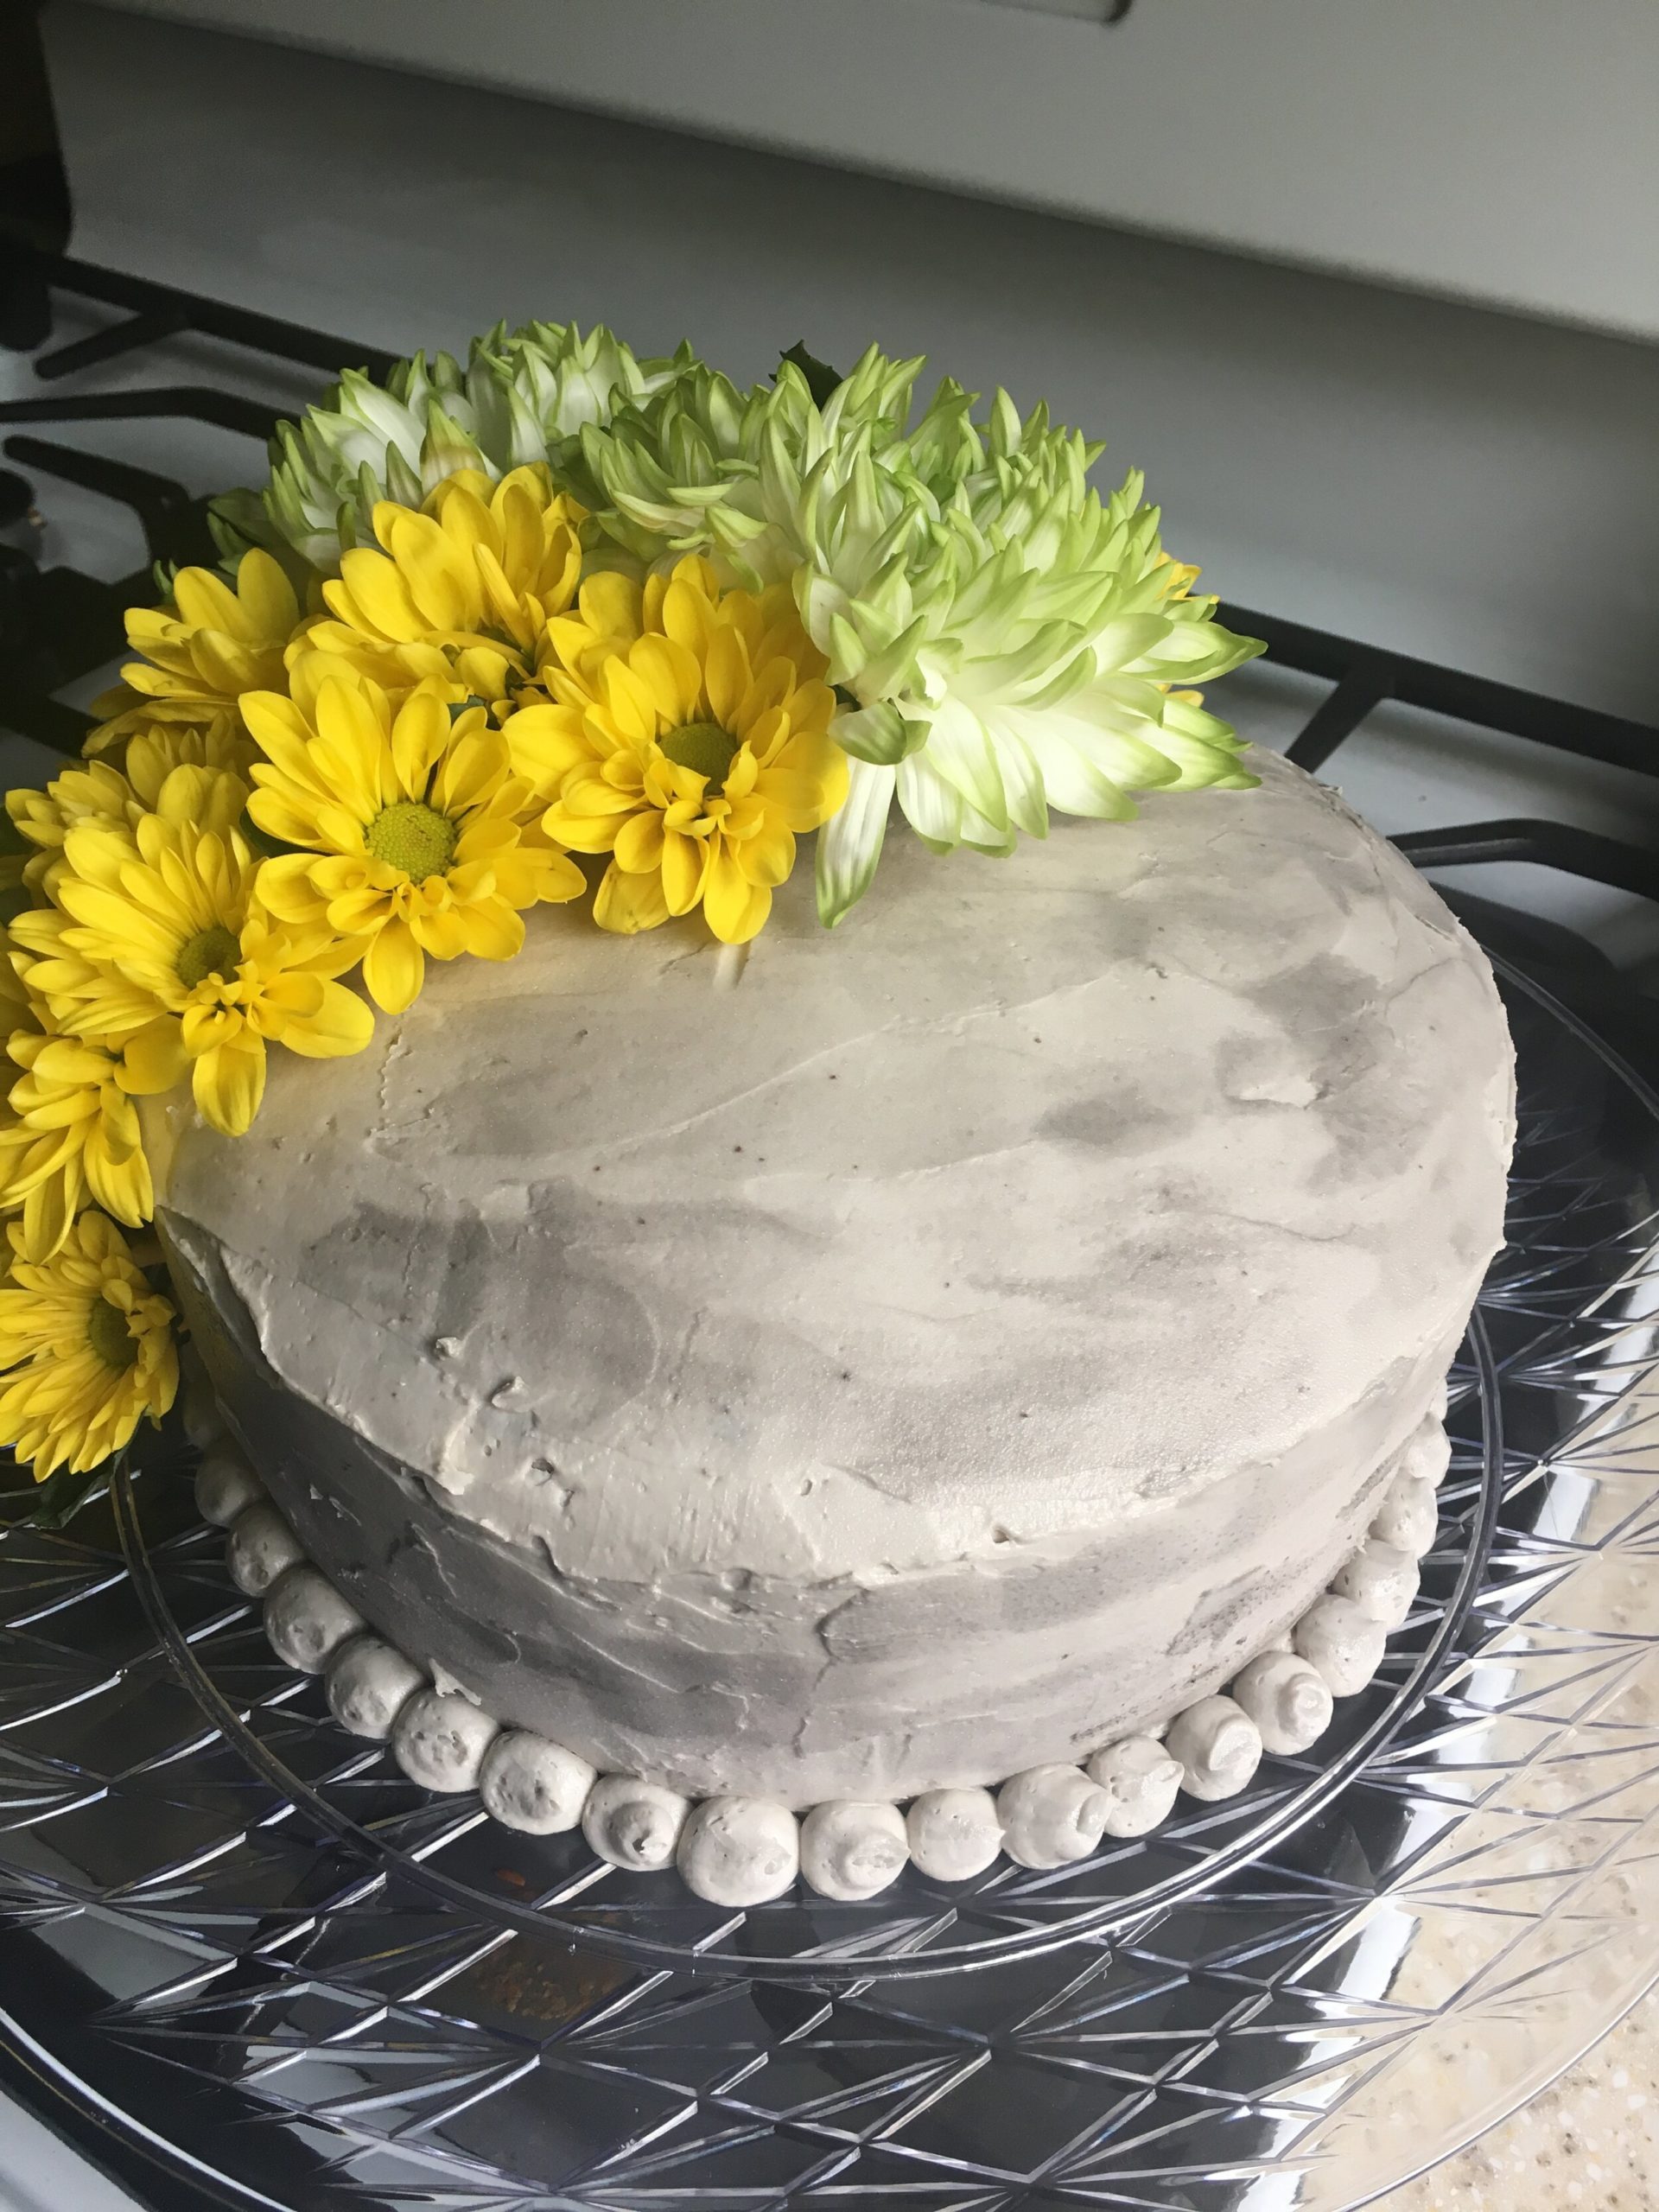
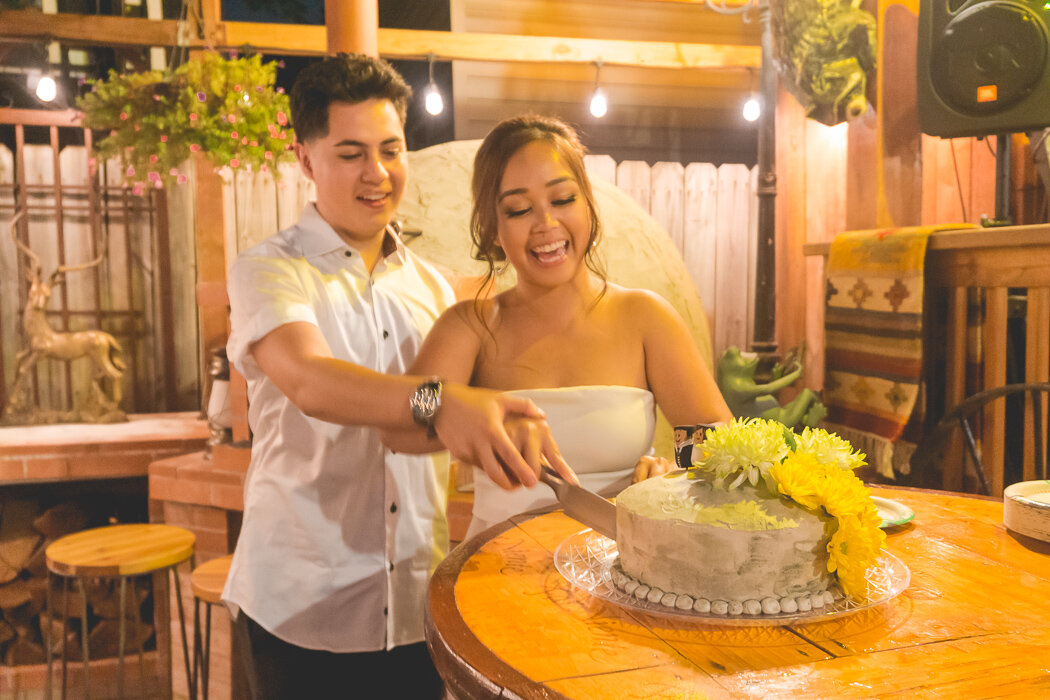
CAKE TIME! I have to be honest, I actually did not think about a cake until Paul asked me if I was planning to buy a store bought one or getting one made. I knew I didn’t have enough time to get a custom one from a bakery with a week left from the date. I sent a few Yelp quotes from bakeries nearby but I didn’t get a response until 2 days before the wedding. So my back up plan was to just buy a store bought one from either Jewel-Osco or from a Filipino bakery called, Red Ribbon. I did neither. My best friend, Julia, suggested that one of our friends, Olivia, might be able to bake a cake for us since she loves baking. Olivia was more than willing to make us our wedding cake and I was so thrilled. I offered to pay her or at least buy the ingredients, but she refused. I don’t know how to repay the kindness Olivia did for our special day. She created a master piece.
The cake design I came up with (thank you Pinterest… again) was a one tiered cake with maybe 3-4 layers of cake with a concrete buttercream look and flowers coming down from the top to the sides (shown above). I picked this design due to the fact that Paul’s studying architecture and we both love being hands-on and build things. I was so amazed on how Olivia executed our request for the cake. She got the texture of concrete to the T! and added her own twist on the flowers. My job was to find a cake topper similar to the one on the inspiration picture but I had NO LUCK. So guess where I went to look for ideas? Yep! Pinterest! I found these cork bride and groom cake topper ideas and I was so excited to do it! It was FREE to make since I already had some corks laying around at home as well as black and white paint and a black marker for the eyes. (Look at the last photo on the slide above!)
Last on my decor list was the Guest Board! I wanted a souvenir from our wedding that our guests could sign and we could use as a decoration at home instead of having a guest book that would collect dust on the shelf. I saw a guest board on Pinterest of Colorado Mountains with the couple’s names and date and a blank wood as the background where guests could sign their names and/or messages. I showed Paul and we both LOVED the idea, but CHICAGO version! So with my vision and Paul executing my vision, this is what we came up with! Second photo above is the inspiration. The only items we bought for this DIY is the main sheathing plywood, which was under $10 (have to check the price), a 1 qt. wood stain for $6.89, both from Home Depot, and 3 Sharpie white oil-based paint markers from Michael’s Craft Store, 2 medium points ($4.79 each) and 1 bold point ($7.49). All other material used: foam core for the skyline, gray spray paint, glue, X-acto knife, and some other tools to trim the wood were already available to us. Paul’s an architecture grad student so he already had some extra materials from the semester before.
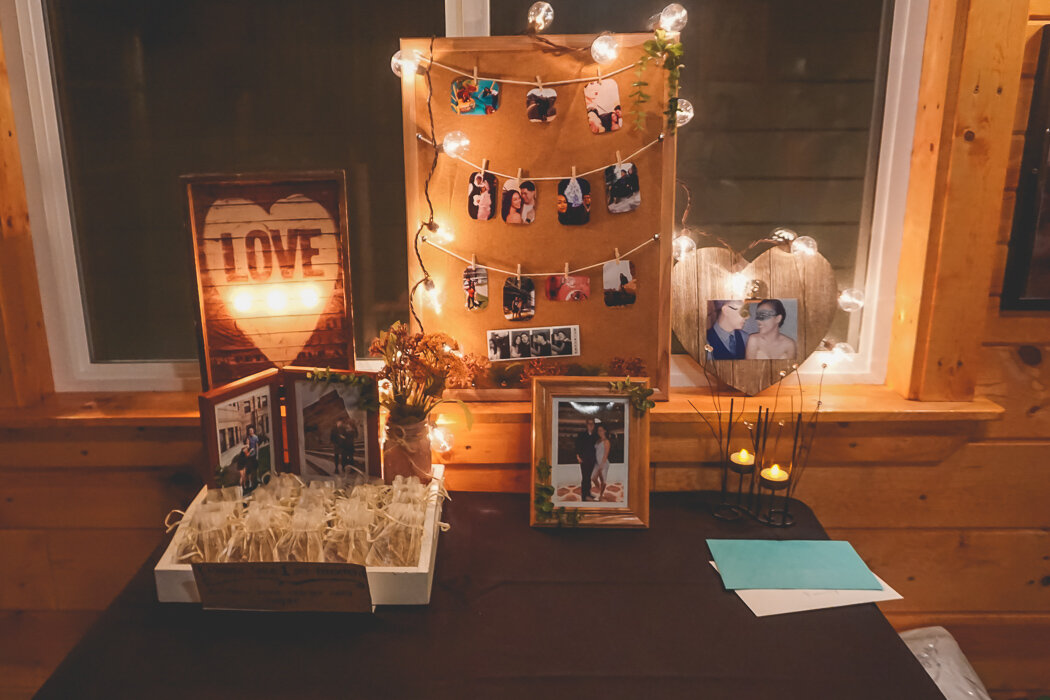
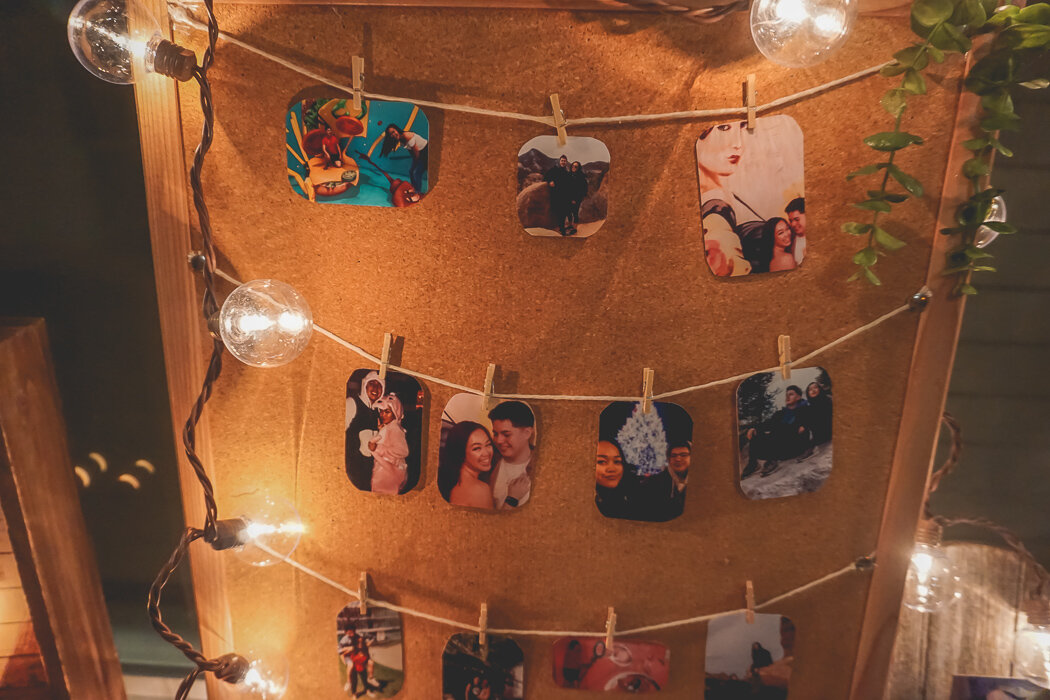
Aside from my decor list, Paul’s sister, Stephanny, surprised us with a couple of DIY projects of her own. She found a cork board and some cute frames from the thrift for under $10 and she printed photos of Paul and I to fill the frames and her DIY cork board photo display. You can easily print photos on the Walgreens website or app from any device and don’t forget to use a PROMO CODE which is always available of their website! You can easily print 20 4×6 photos for only $3!
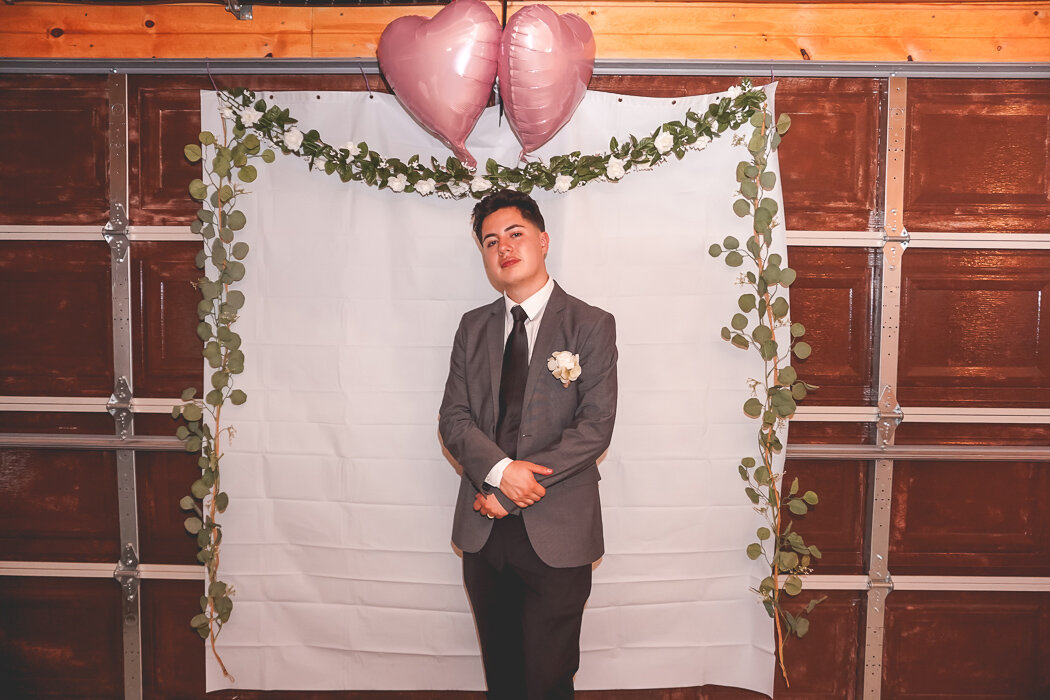
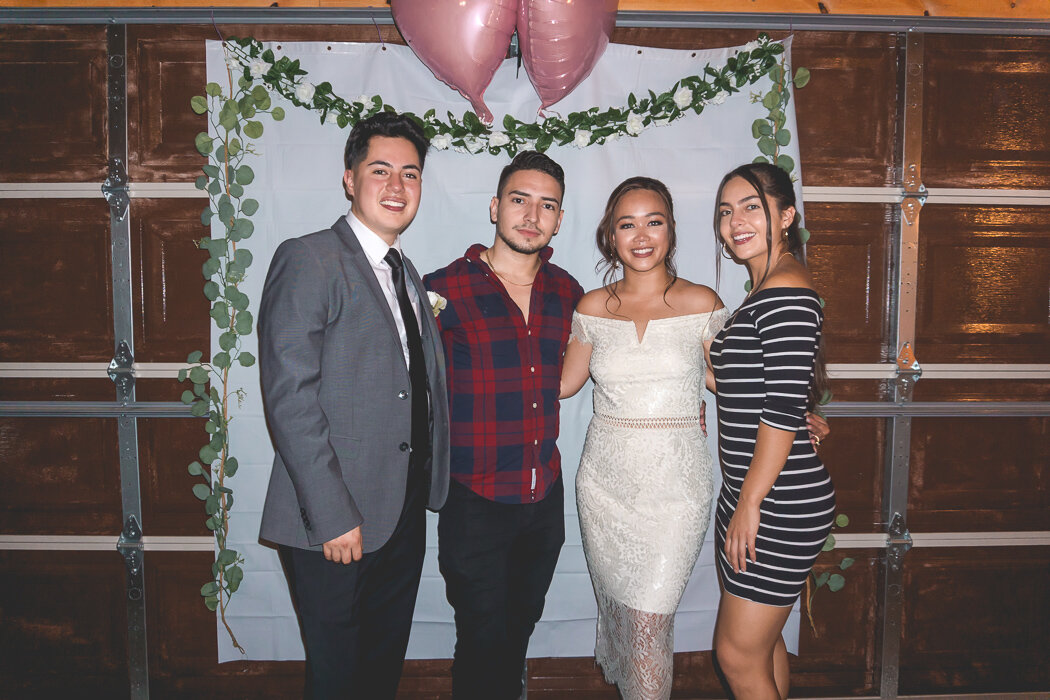
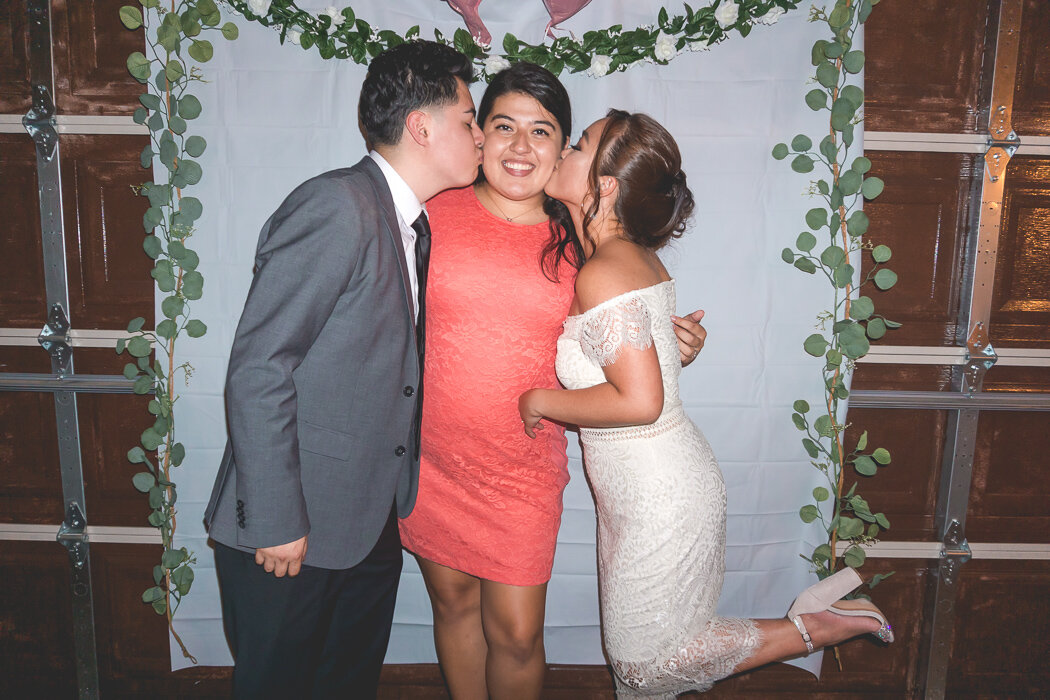
Stephanny also created a beautiful backdrop made of a white shower liner and a couple of floral garlands. I would not have thought of using a white shower liner as a backdrop. Curtain, yes, but it gets expensive.. but SHOWER LINER?! GENIUS! I’m not sure how much she spent on this backdrop but you can easily find these materials at Walmart or Target and craft stores for affordable prices.
I think I pretty much covered all the decorating process. Let’s move on to venues!
WHERE?
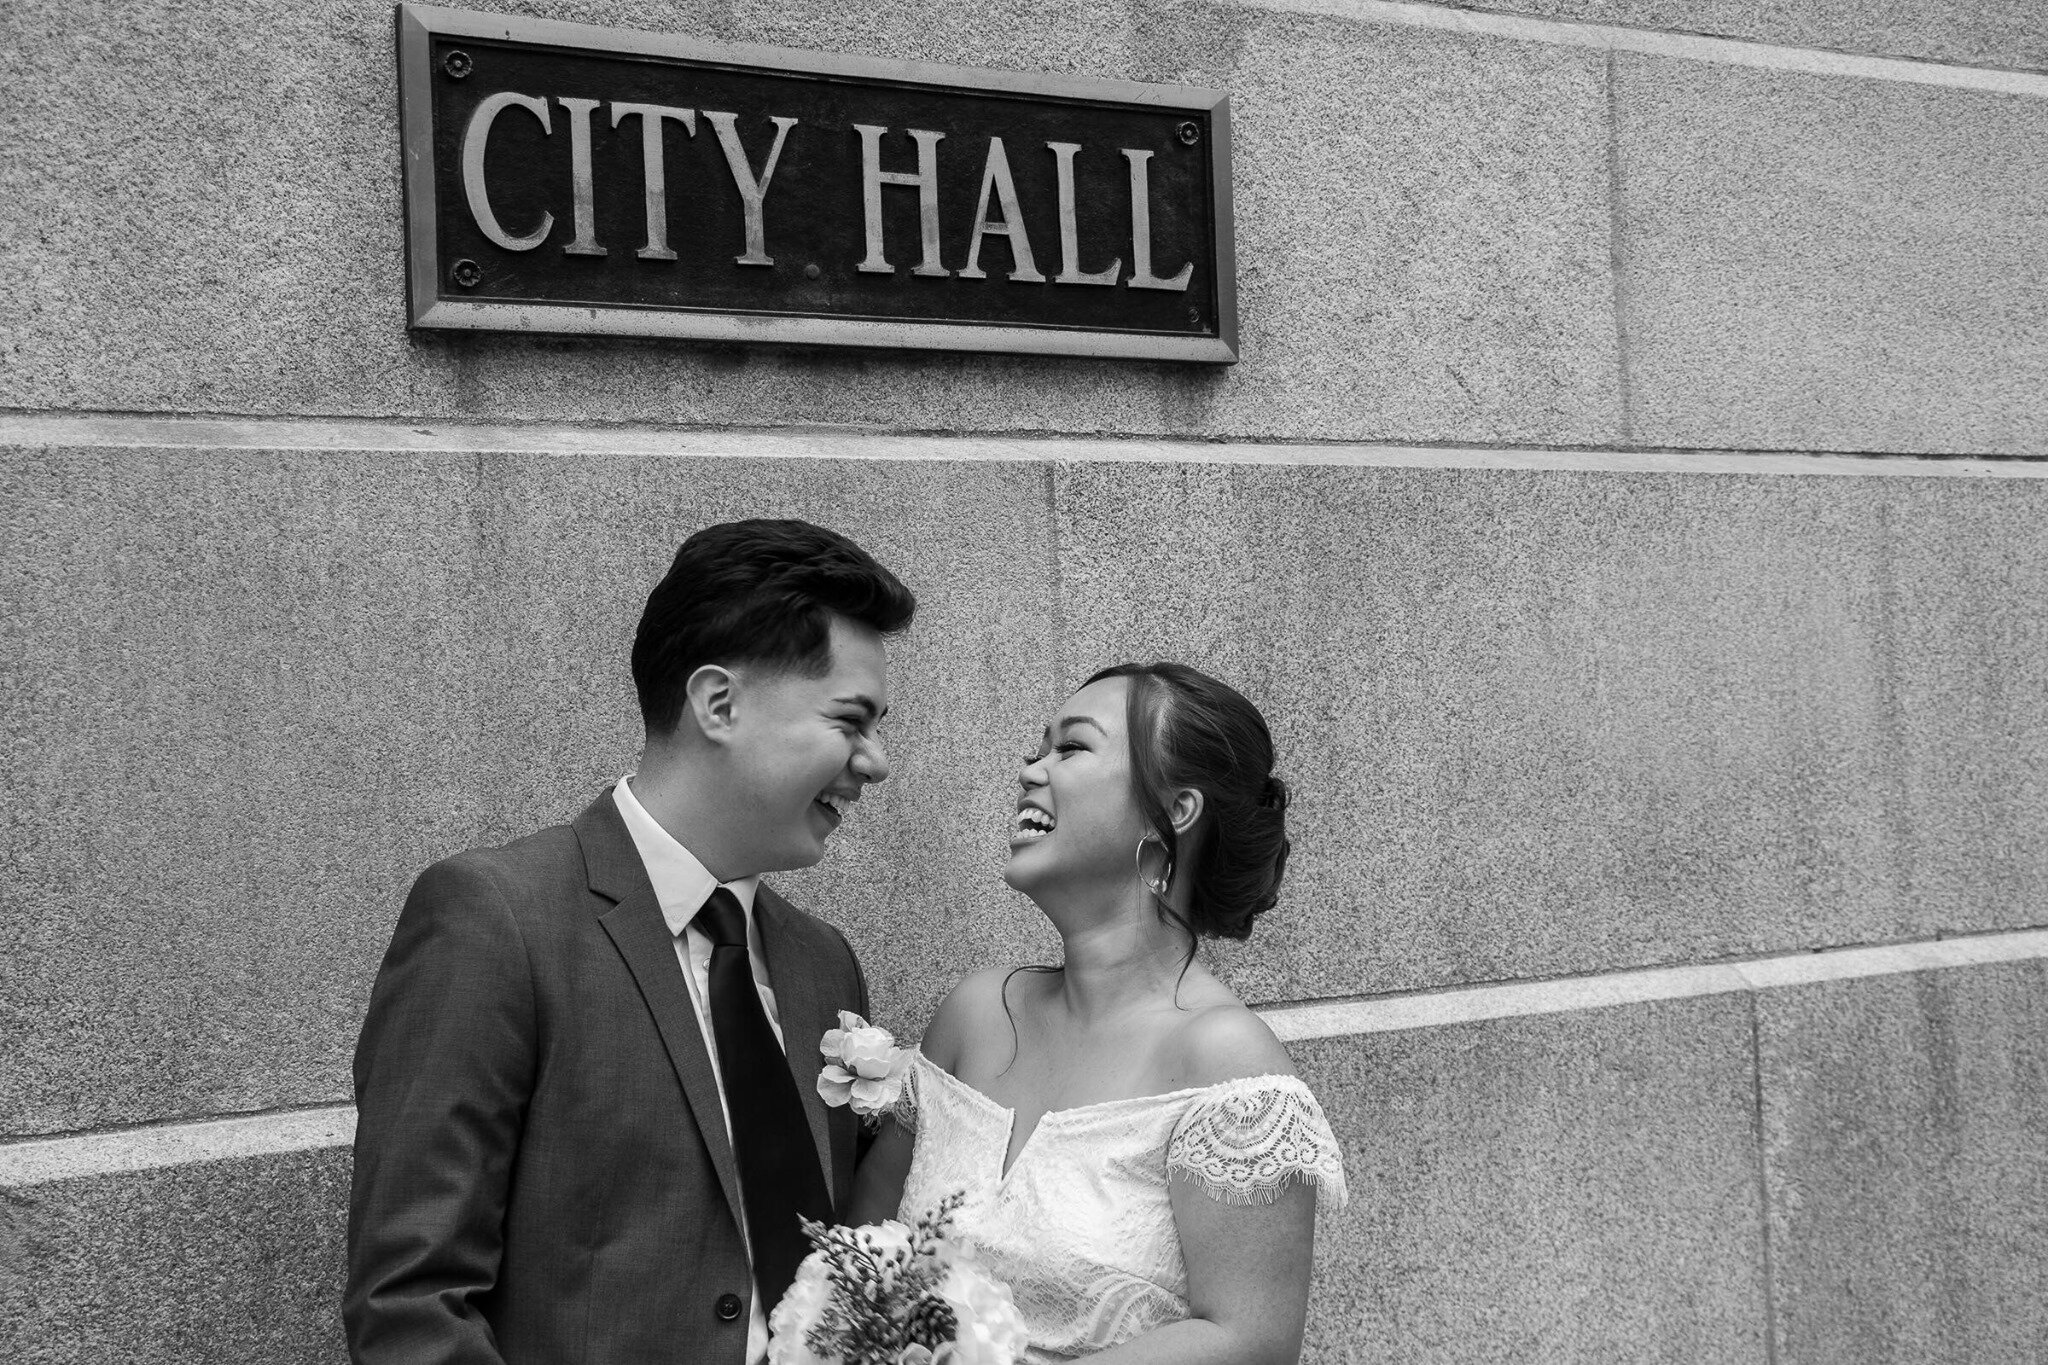
We knew we wanted to do a City Hall Ceremony. We decided on our wedding date so last minute so this was the most practical way to do and we’re planning on a proper wedding in the near future with most of my family present, since they’re scattered throughout the world and didn’t have enough notice to attend this one.
Our parents and closest friends witnessed our unity. I’m still in awe on how I’m married to the love of my life. The ceremony was very quick. I didn’t get enough time to process everything. We planned on being at City Hall at 10am, but my Filipino self was 15 minutes late. When I arrived, EVERYBODY we invited were already there. I felt so bad. As soon as I got to say hello to everybody, the judge came out and called for “Paul Chaca” and I didn’t quite catch what it meant. It was our turn. I guess I was too nervous and just went with the flow. My hands turned cold, I could feel myself shake. “THIS IS IT. YOU’RE GETTING MARRIED!” were the thoughts in my head. It felt so surreal. I wasn’t scared at all. I knew I wanted to be married to Paul.
The Judge went about his part and we just recited what we were told. I guess court weddings don’t really have the option of using your own vows which we didn’t mind. We got to say our own later that day. The actual ceremony took probably 10 minutes. The picture taking took longer that the Judge had to kick us out so he could prepare for the next couple.

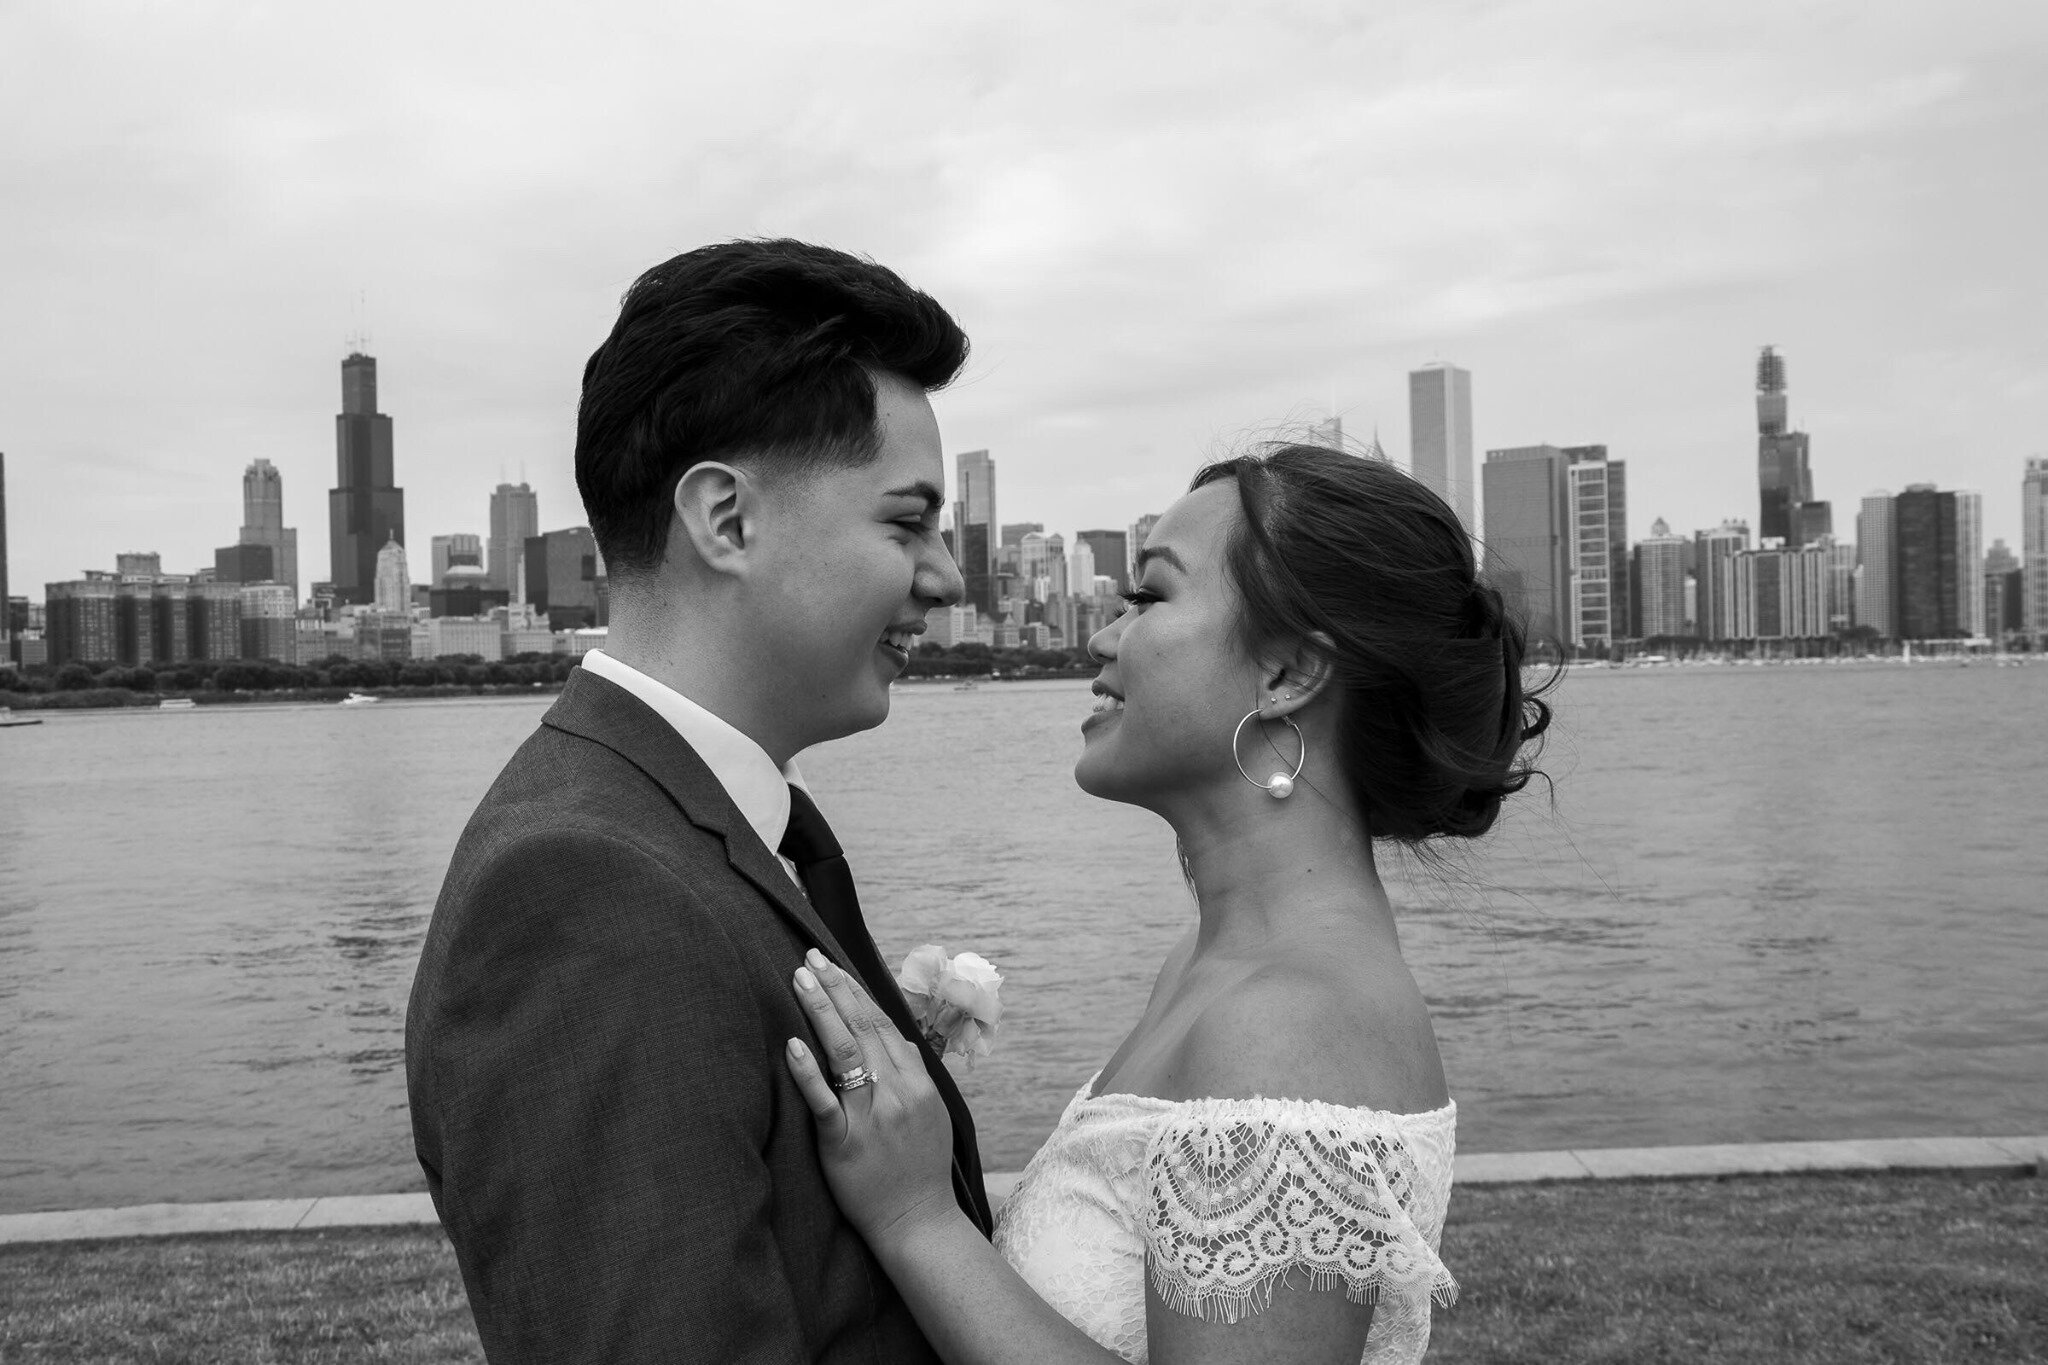
Photos by Esteban Espinosa

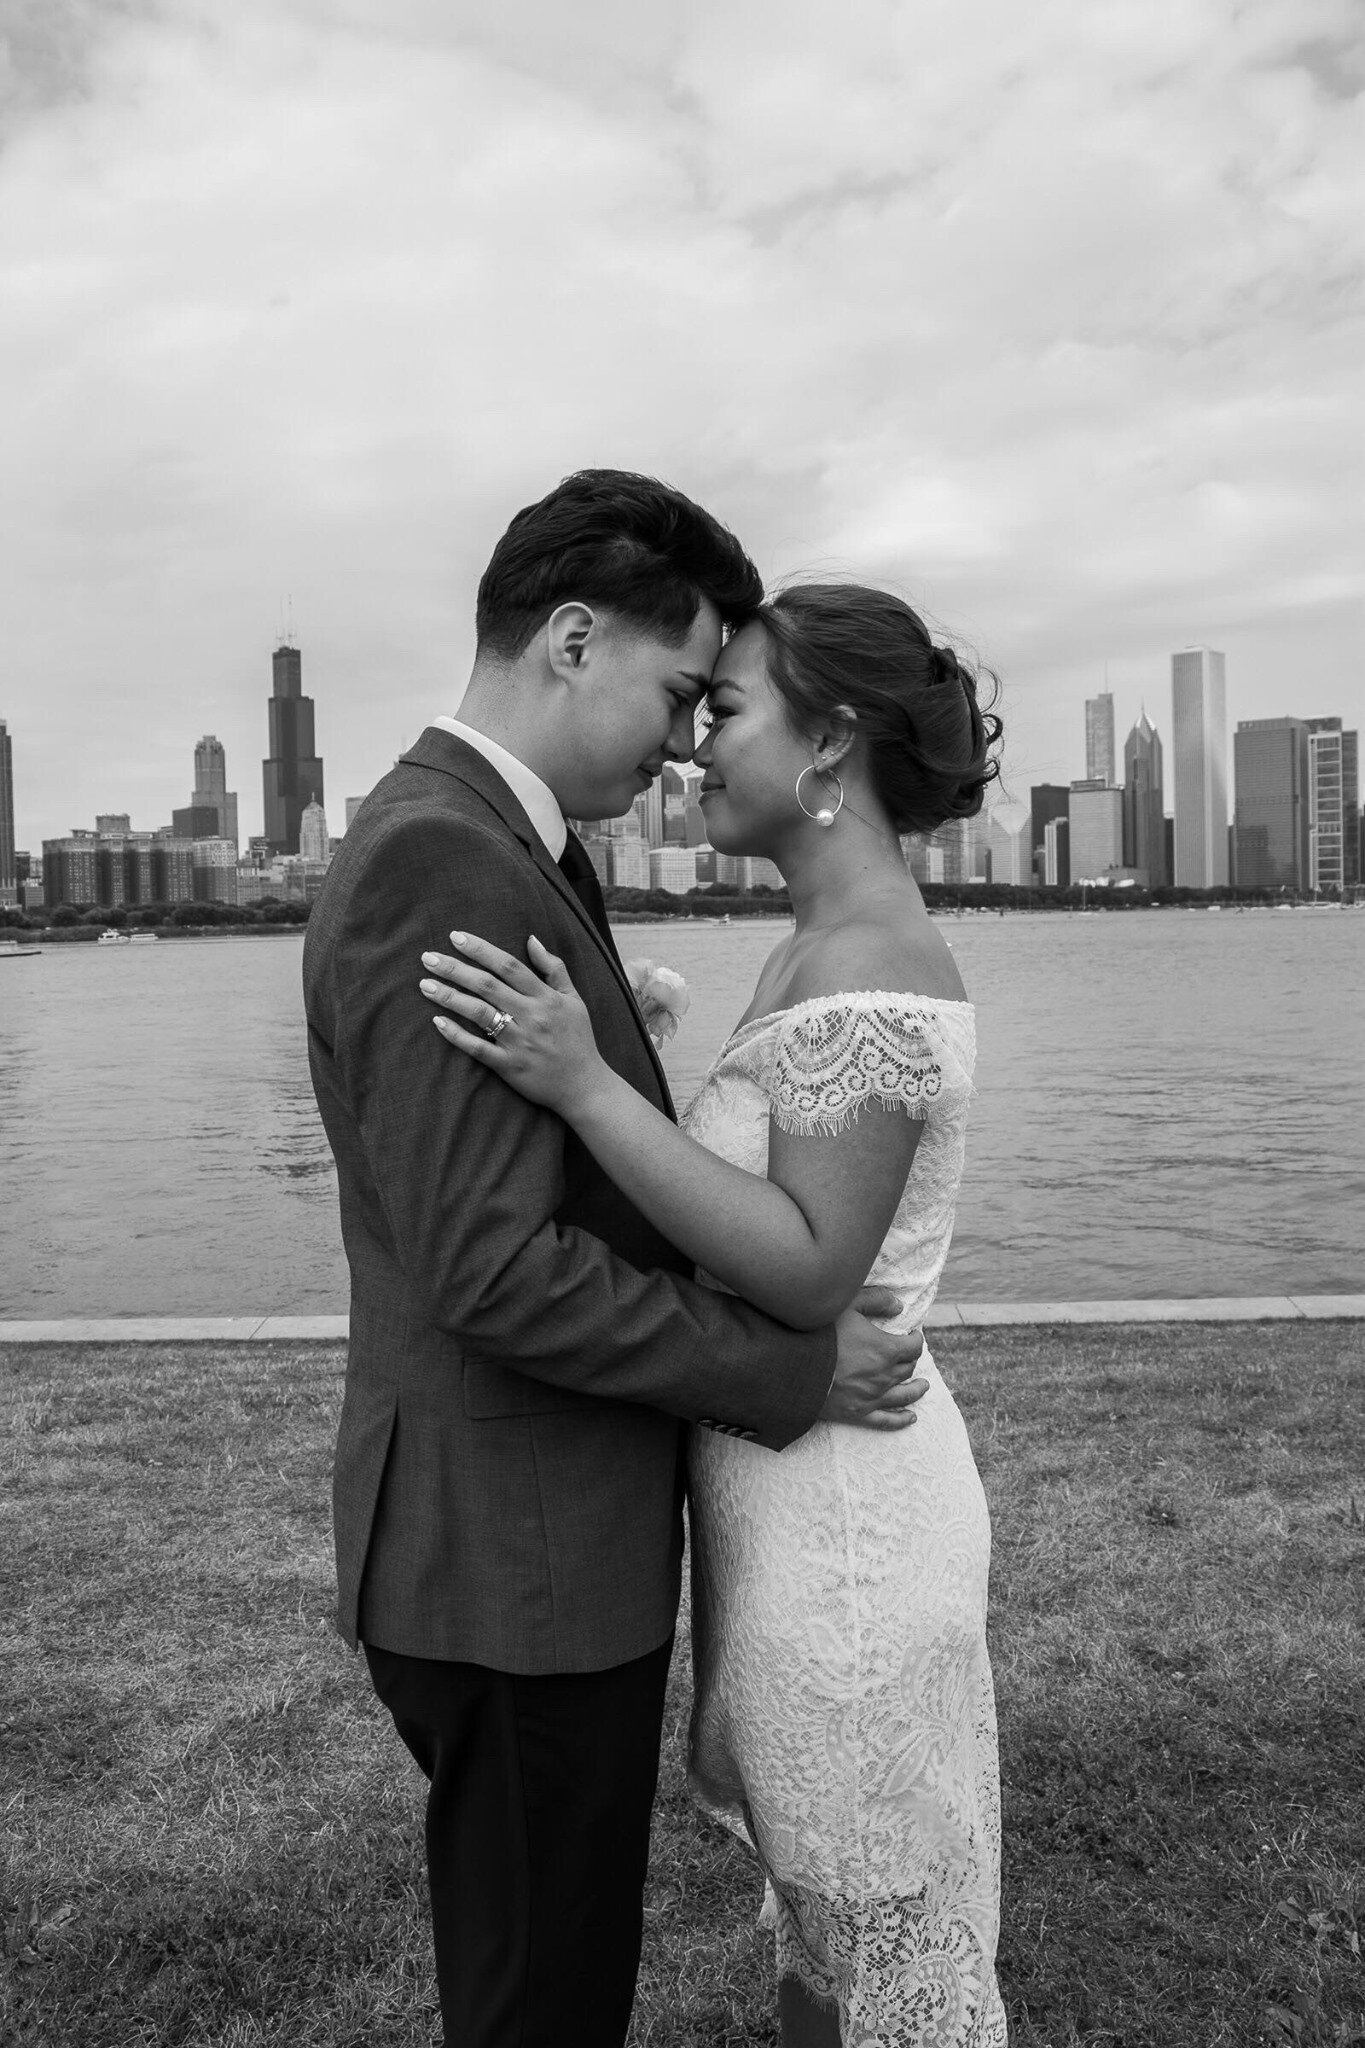
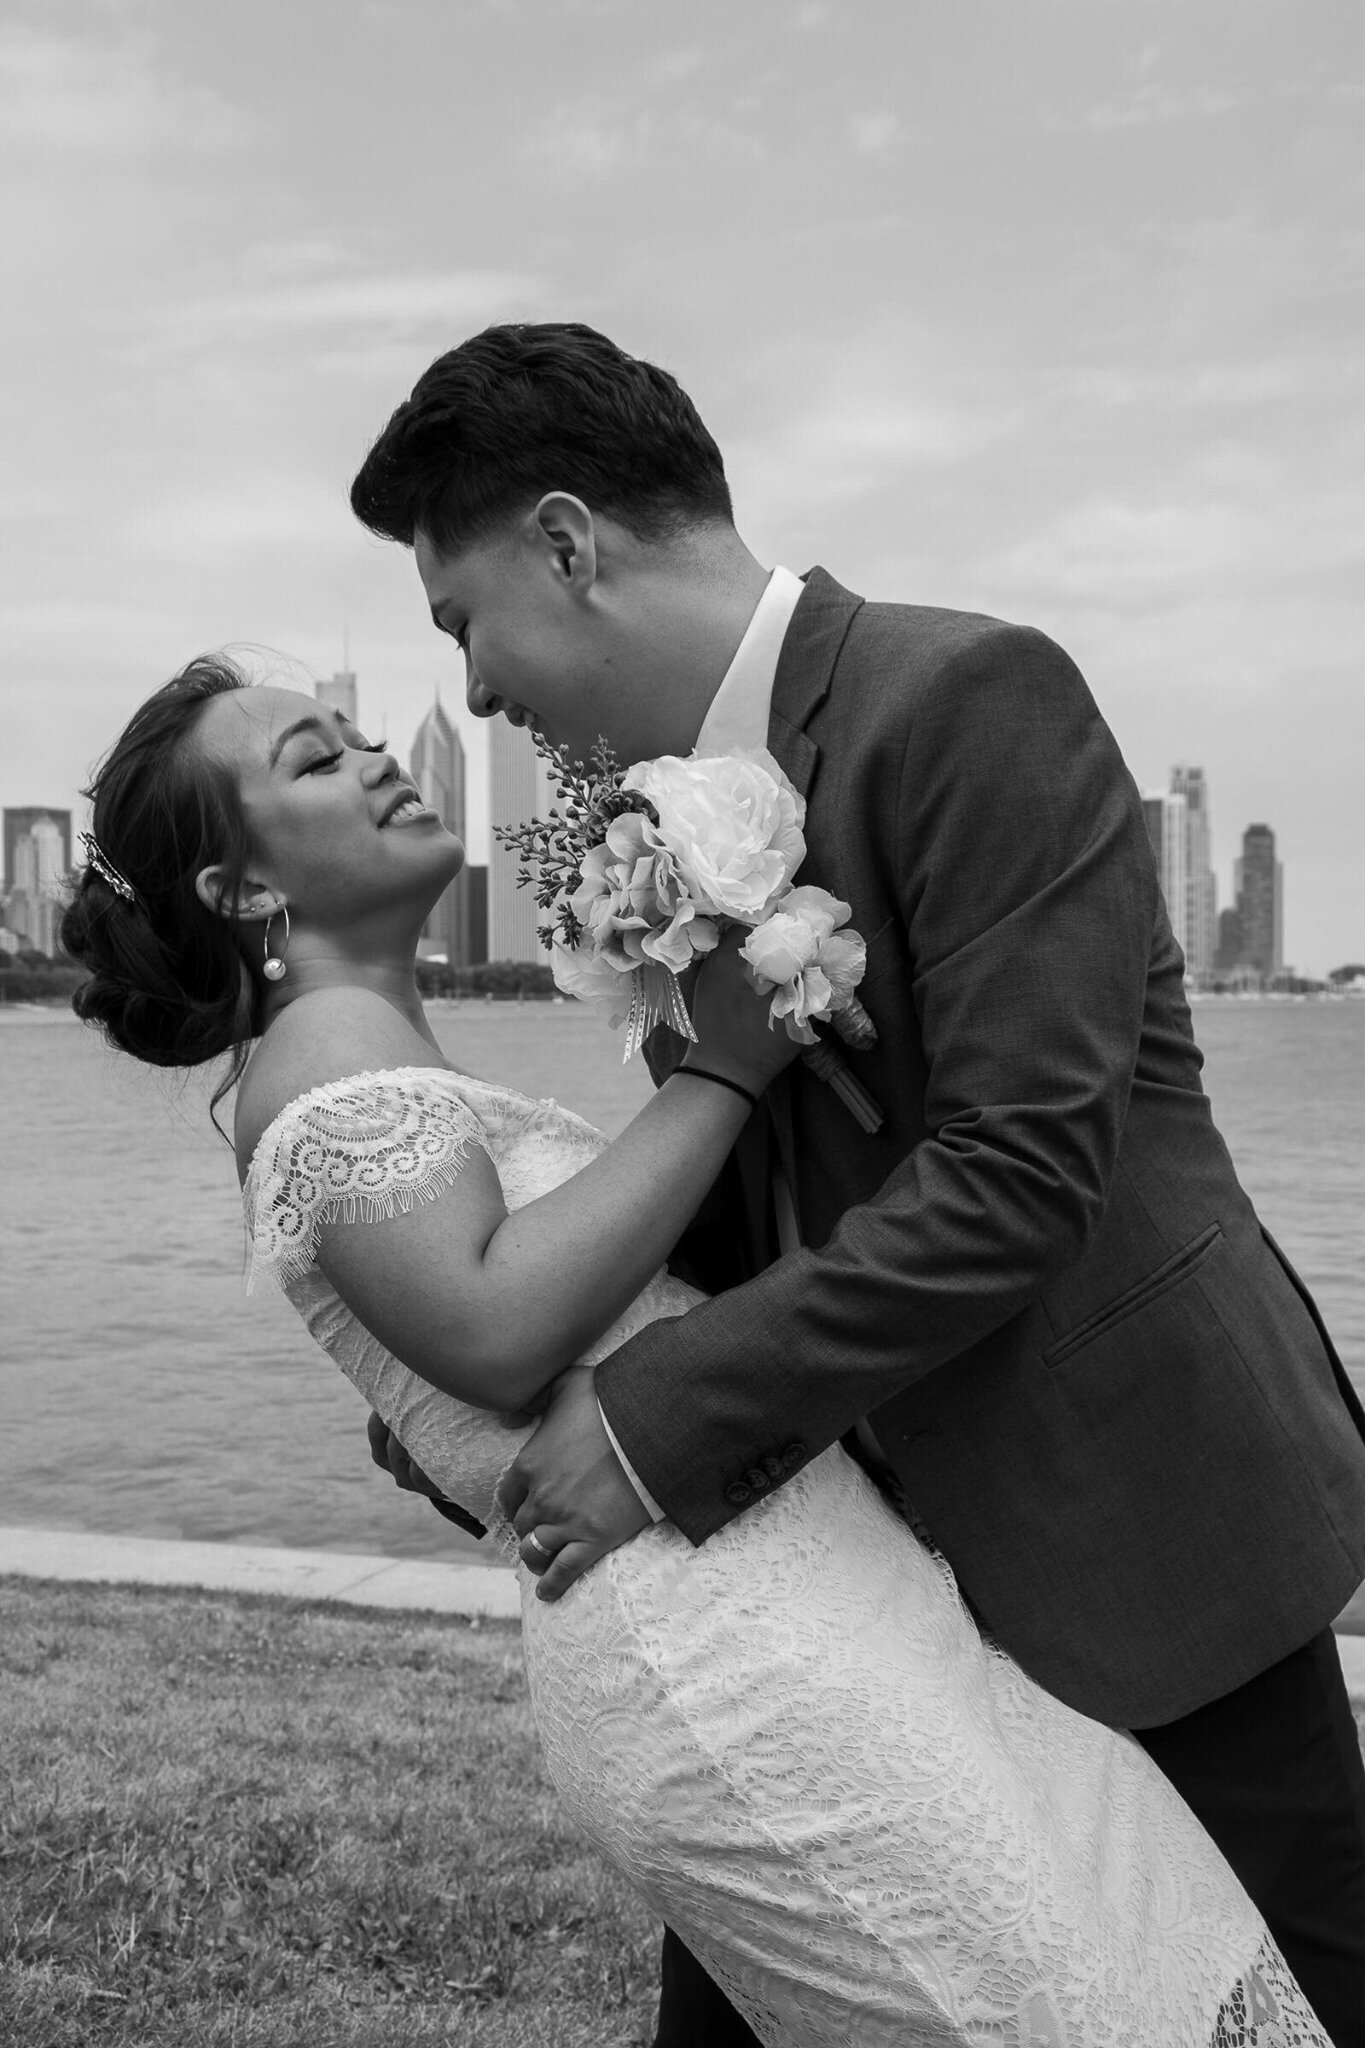
Photos by Esteban Espinosa

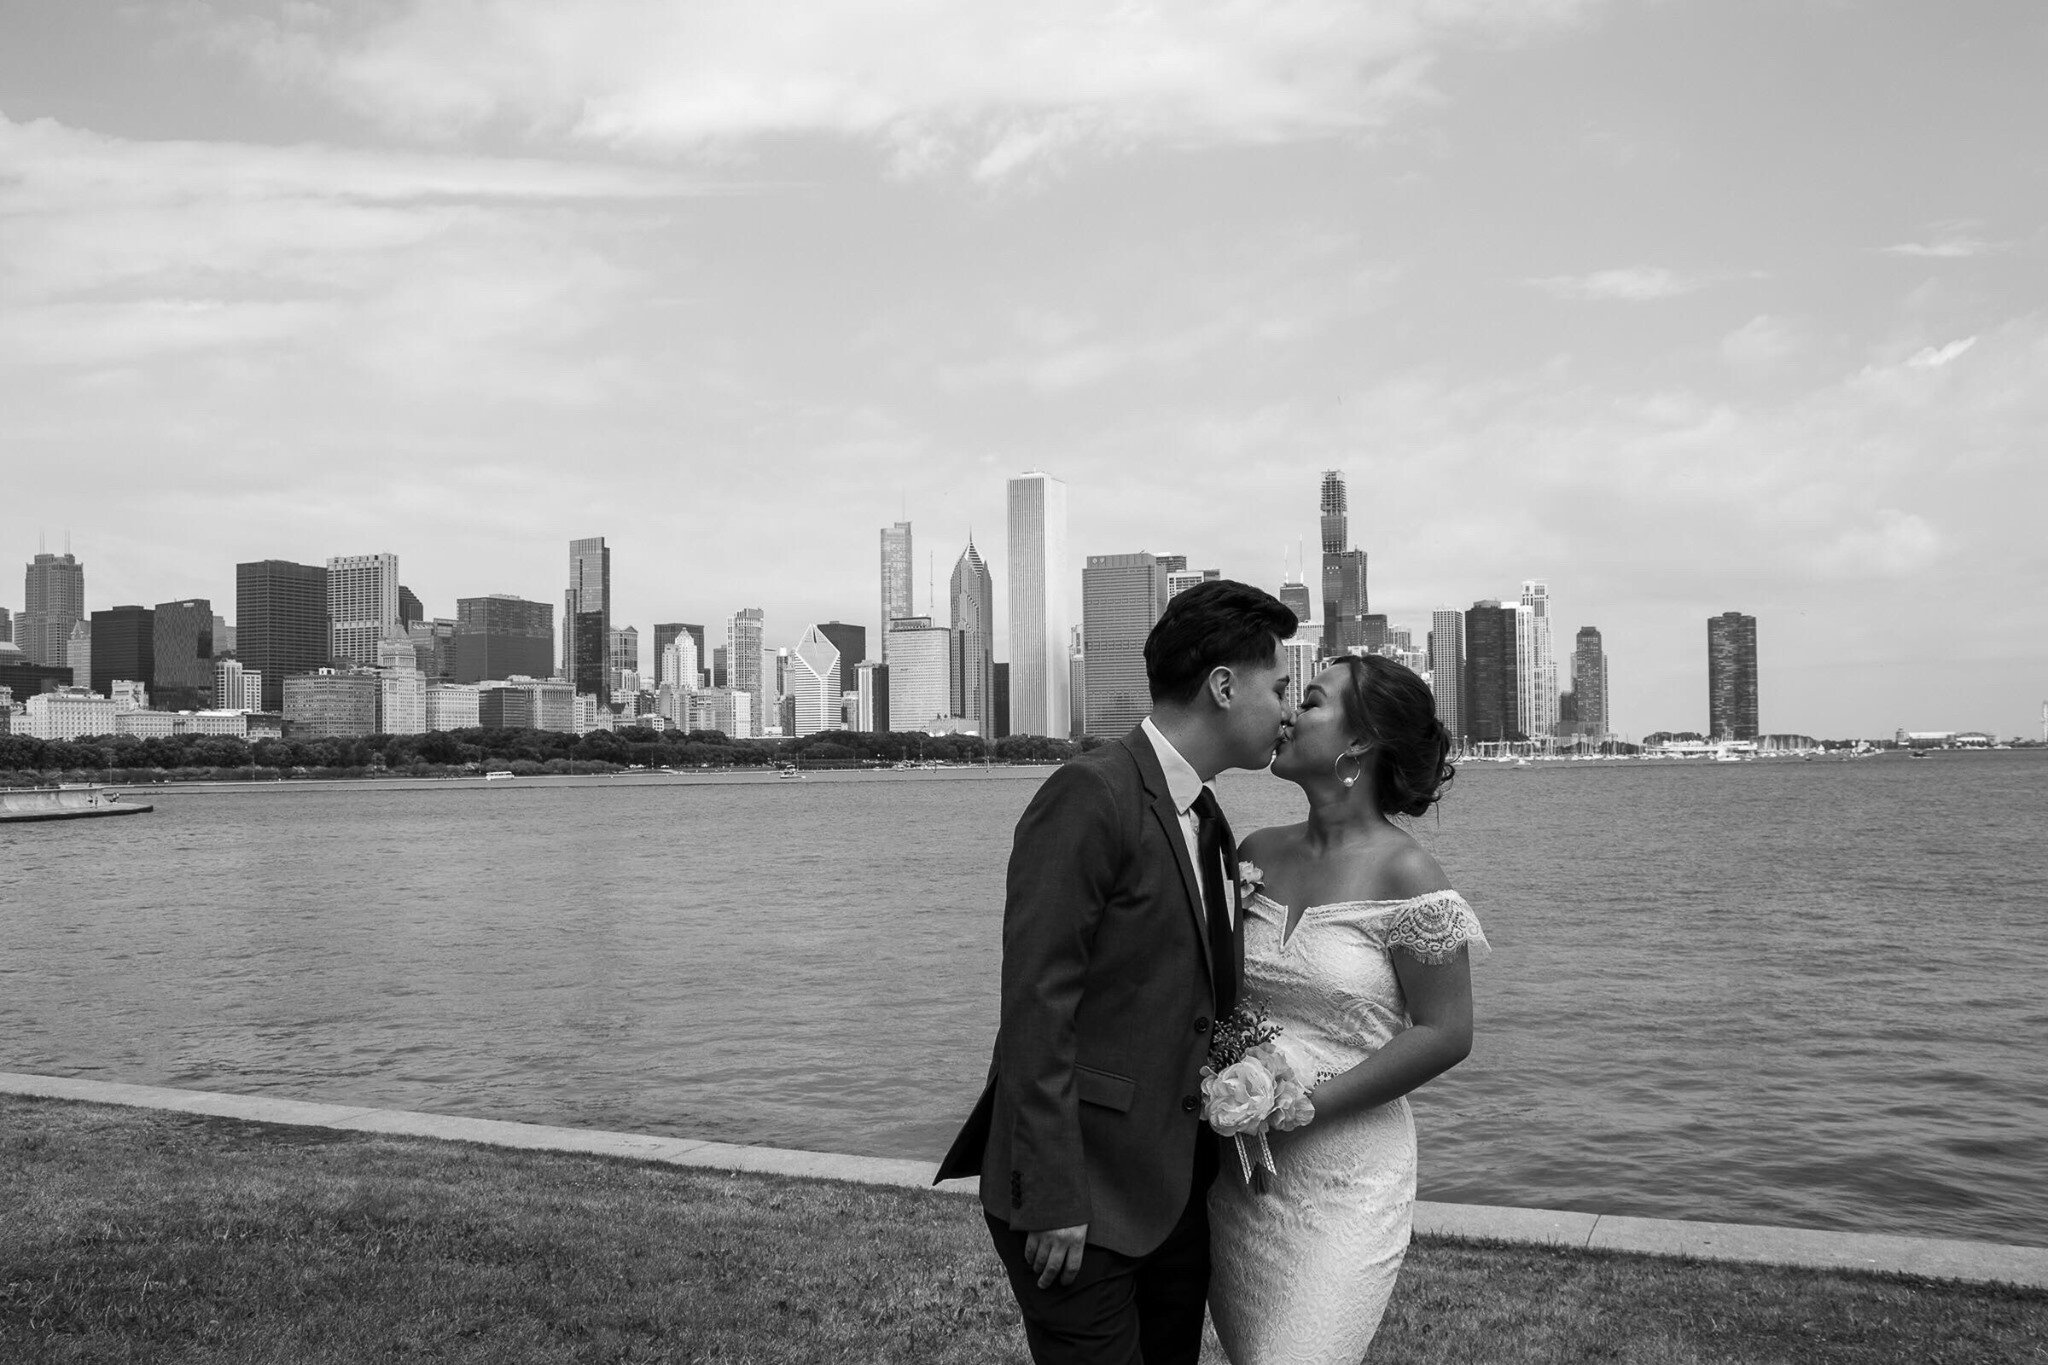
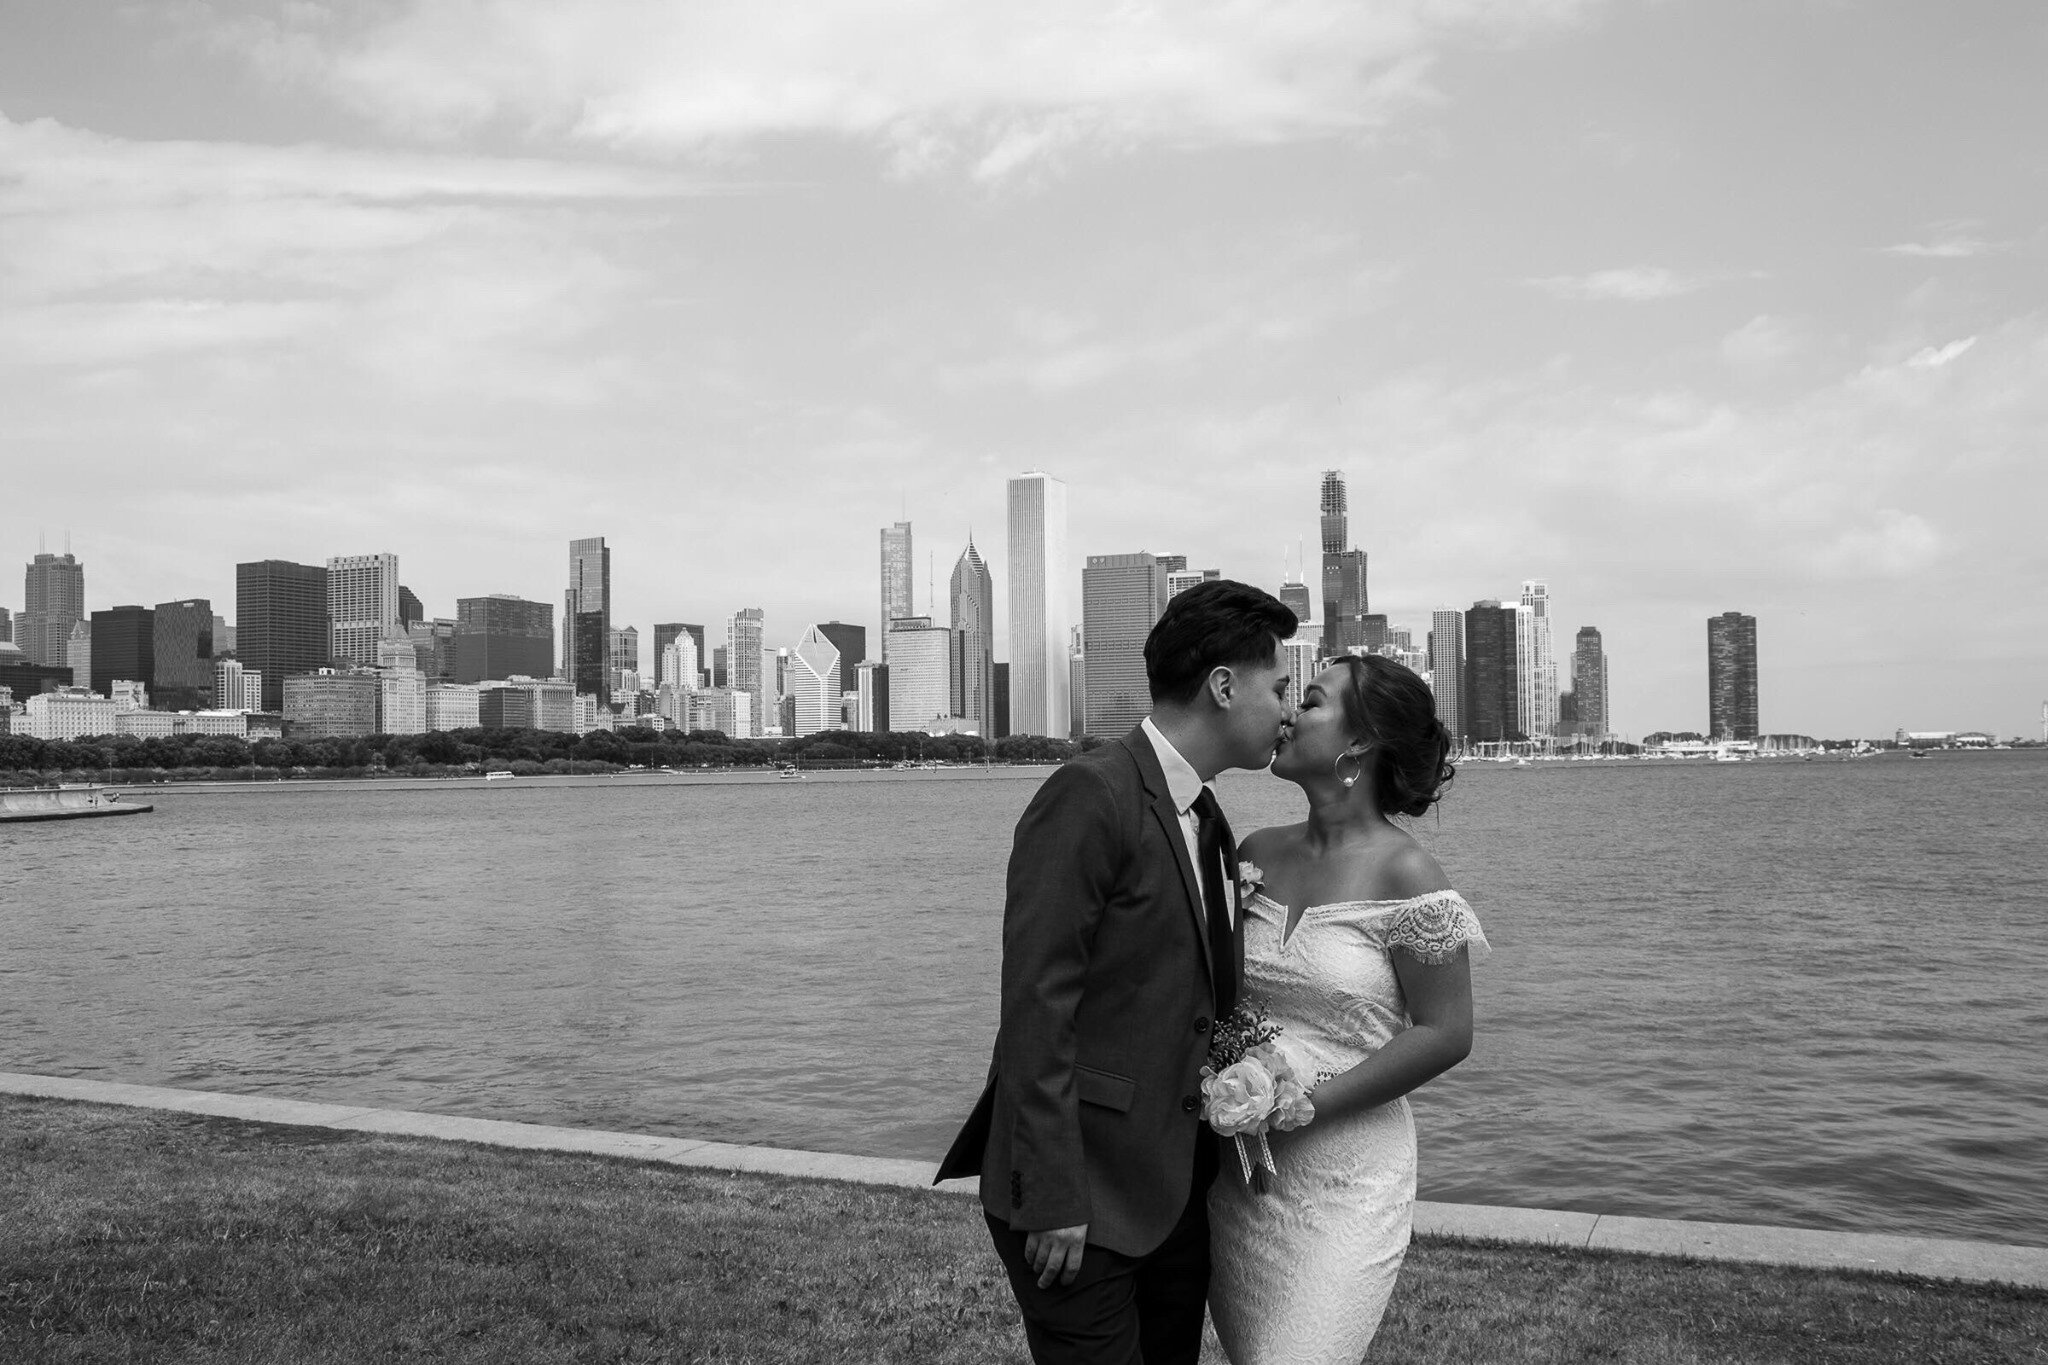
Photos by Esteban Espinosa

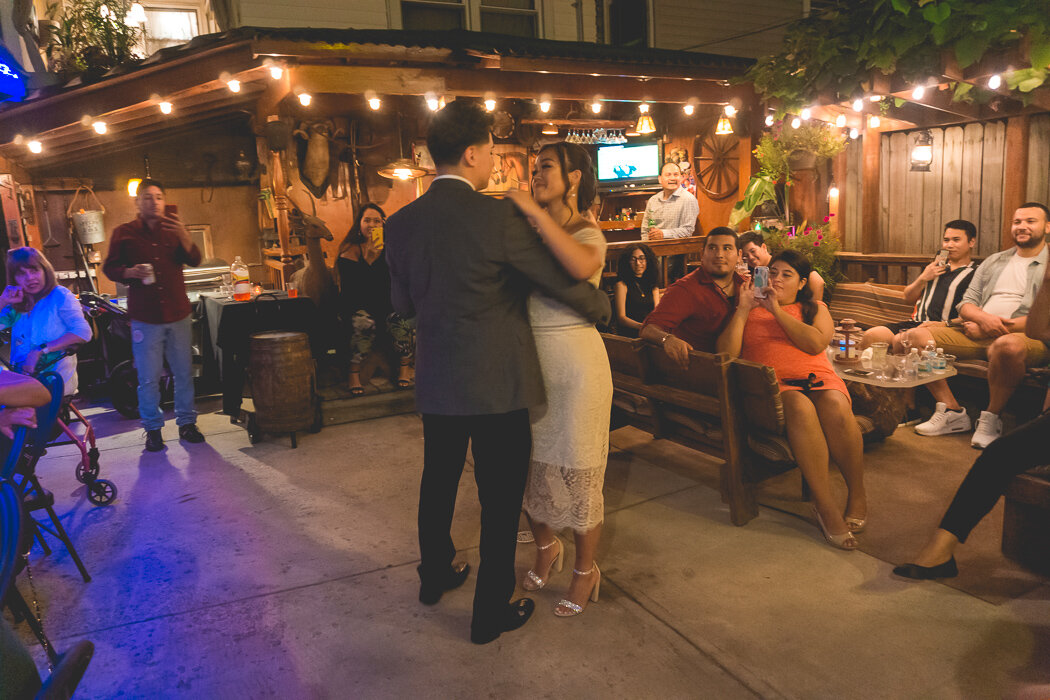
Photos by Esteban Espinosa
After the ceremony, we took pictures with our family and friends outside the courthouse. After that, I suggested we went by the Planetarium to take some wedding photos. My husband’s best friend, Esteban, was kind enough to take our photos. Book him if you ever have events! You won’t regret it!
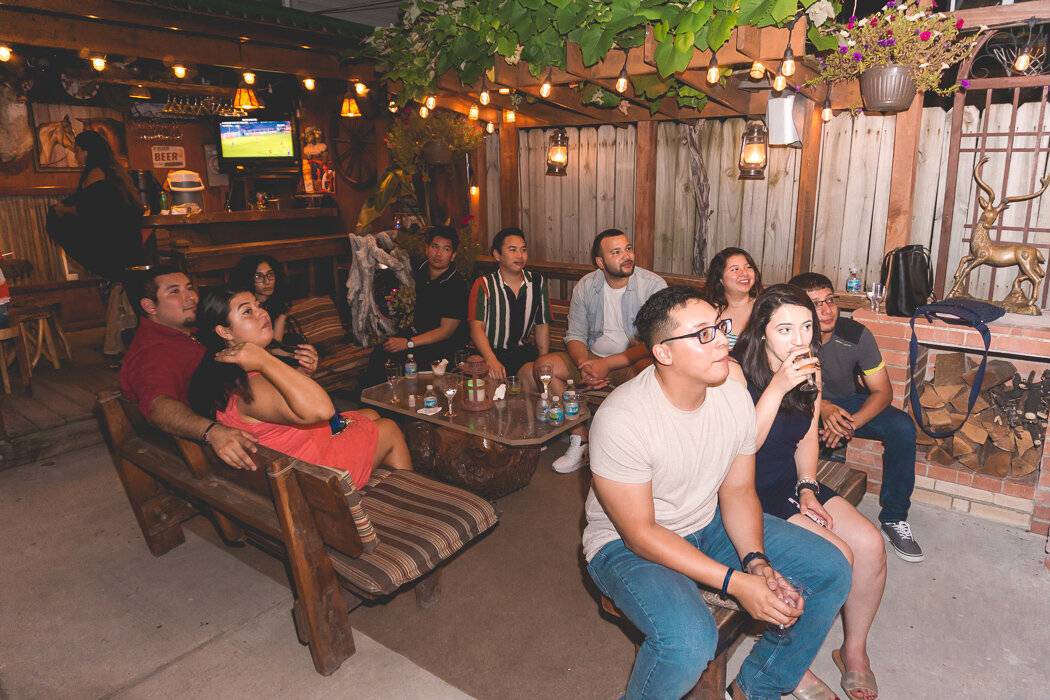
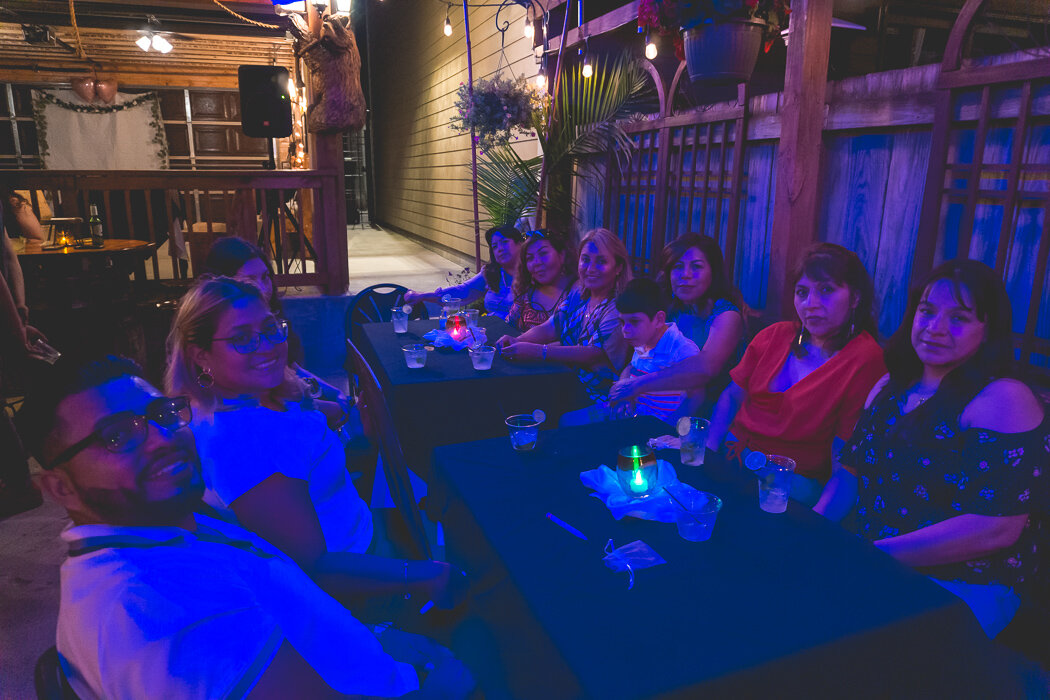
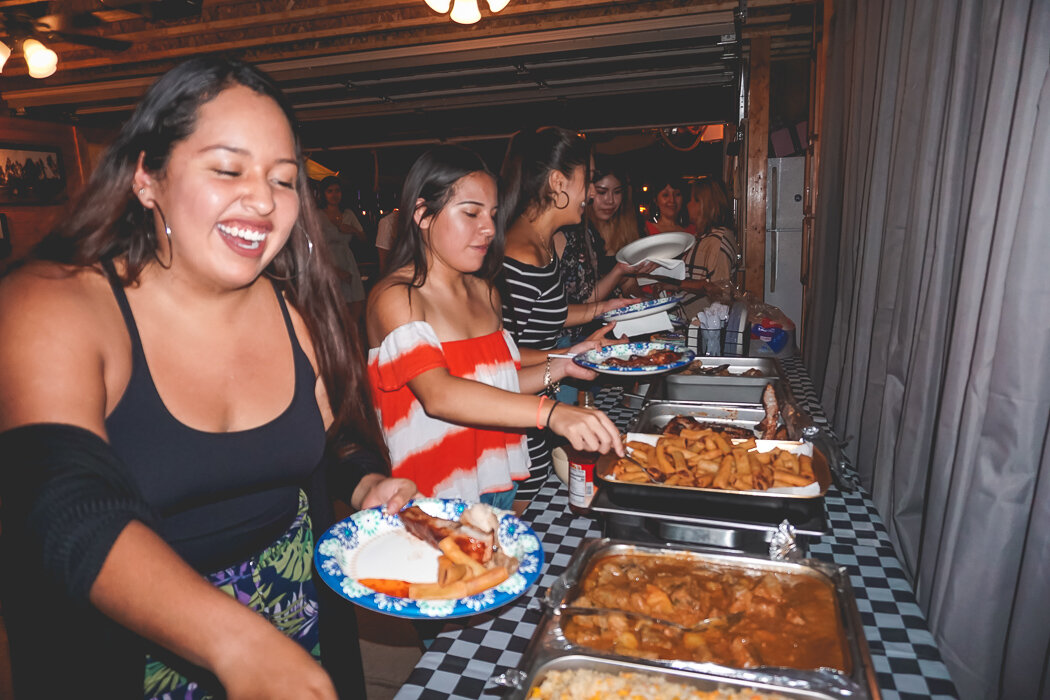
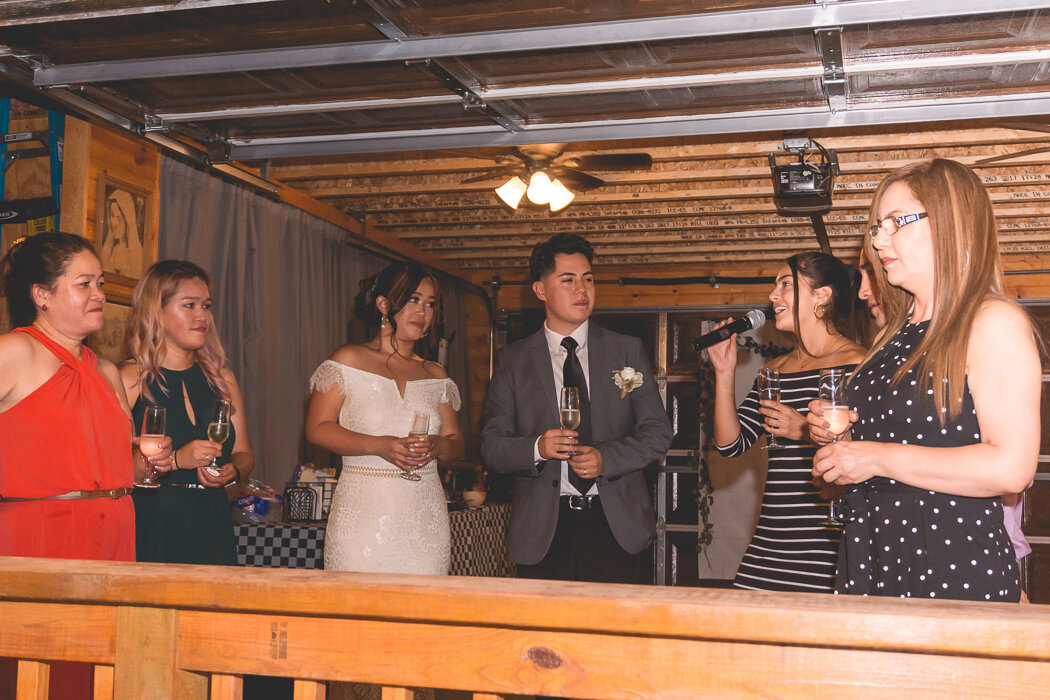
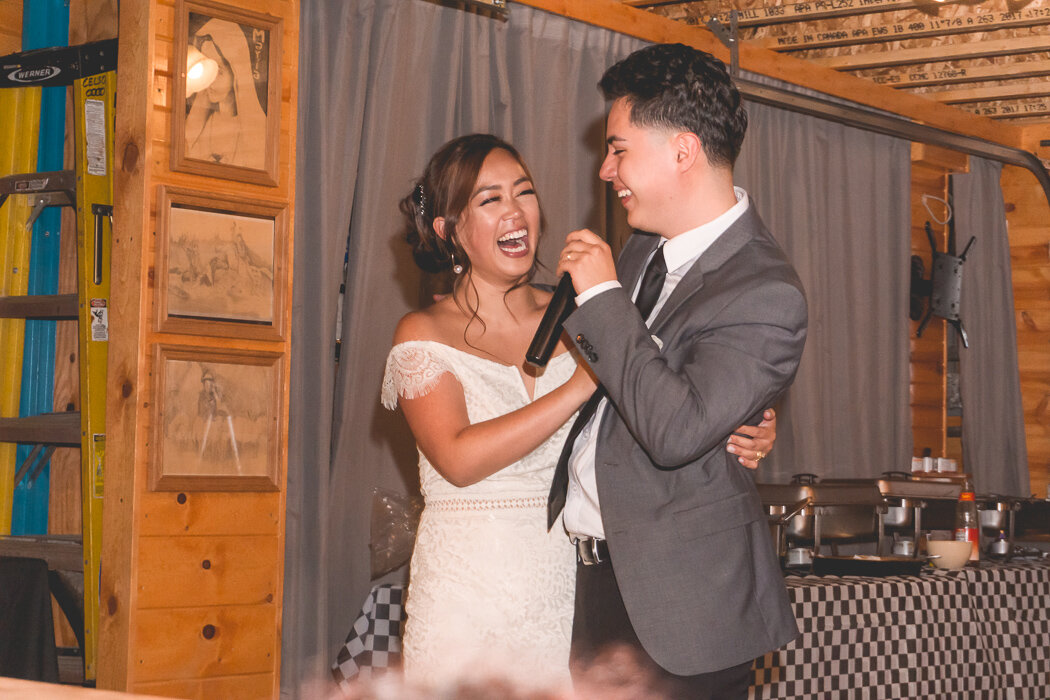
Our wedding reception took place in our backyard. Paul’s dad made their backyard a sanctuary as well as the perfect place to throw gatherings. With the garage renovations they made last summer using Paul’s design skills, the backyard was even bigger and better for any celebration.
WHEN?
Initially, we decided on August 10th to get married at City Hall. However, there were some minor personal setbacks on my end that we decided to move the date to the following week on August 16th instead. Since we decided on a Civil Wedding Ceremony, we considered a couple of things to be practical and productive. Things we considered for choosing dates:
-
Work Schedules – not only ours but for the 15 people we’re allowed to invite. We notified people about the wedding very last minute and we know most employers need at least 2 weeks in advance to request off.
-
Time of Day – Chicago City Hall Court Weddings are first come first serve, so we wanted to get in early just because we didn’t want to wait in line for a long time and so we can get out of City Hall early to take photos else where as Newly Weds and with our family. Also, we still needed time to prepare food and set up the backyard for the party in the evening.
My heart is so full…
I am honestly so happy with how things worked out. I am now married to the love of my life and celebrating our unity with our family and friends made it even more special and memorable. With a little over 3 weeks of preparation for our wedding, I’m honestly content if we don’t get to do a proper wedding in the future. However, there were special family members that I wanted to be present, but did not have enough time to fly in Chicago so we will eventually plan for a proper wedding. I’m actually excited to see how that will be when this one turned so so beautiful and magical.
back to top
© 2020-2024 KRIZTELLE halili LLC
@kriztellehalili
Kriztelle Halili is a wedding and portrait photographer based in Chicago, IL. A solo female entrepreneur who is dedicated to capture the authentic essence of individuals and their unique stories.
legal pages & site credits
Join our exclusive newsletter for photography tips, special offers, and behind-the-scenes insights! Don't miss out – subscribe now!
